Painting your house for the first time can seem a daunting task, but it’s the perfect way to transform your house from mundane to inspiring! It can also raise property value and help you sell your home faster. We recommend planning before starting to paint, it does require a little more work upfront however it’ll definitely make the actual project run smoother and the end result will always be worth it. Take a look through our steps below to plan painting your house, and where to start!
Develop a vision
Think about the energy you want in your home. Developing moodboards based on your home furniture is a great way to start and help you figure out what kind of colour scheme you want. Light colours work anywhere, but dark colours require rooms with lots of windows and natural light. If you’re preparing a house for sale, it may be safer to stay with neutral colours that could match any interior design or furniture for your future owners.
If you’re transforming your home for yourself, go nuts. Like a colour? Be bold. If you don’t like it, no worries, you can paint it again! Feeling artistic? Paint a wall arch. Try some accent colours. It’s your home. The only person who has to like it is you (and the people who live with you!).
Try samples first
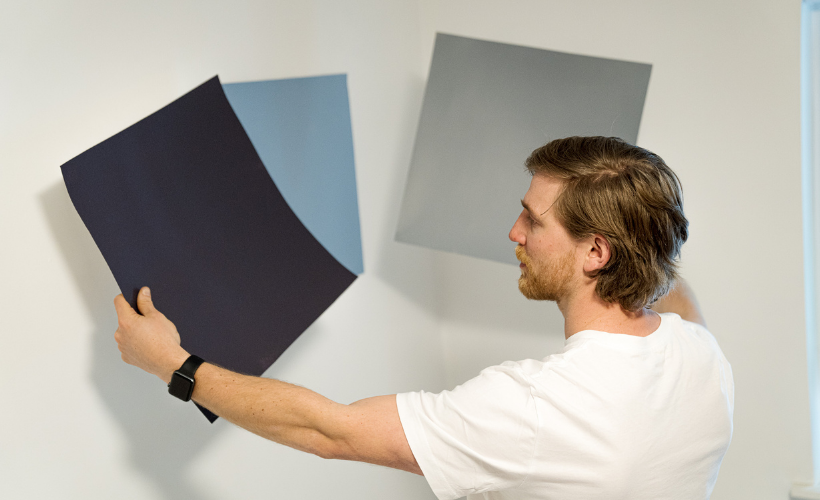
No need to guess how good (or bad) a colour will look on your wall. For a fraction of the cost of paint, you can try our wall samples and test them out in different parts of your home. This saves all the mess of painting with actual paint! Using our samples will help you judge how a colour will look on a larger area much better than a small swatch would.
Do the math
Of course, you’ll need to know the total area you’re going to paint (add up all the square footage of your walls, including alcoves and dormers, plus a little extra), but you’ll also need to account for multiple coats, primer and the porosity of the walls. It’s best to have some paint left over for repair work later on, so get more than you need.
The trick? Make a very educated guess-timate for the area you’ll need to cover. Measure the height and width of each wall. To find the area of a given wall, simply multiply the height by the width. Determine the coverage area for each colour and estimate the number of litres you’ll need for each.

Be a prepper!
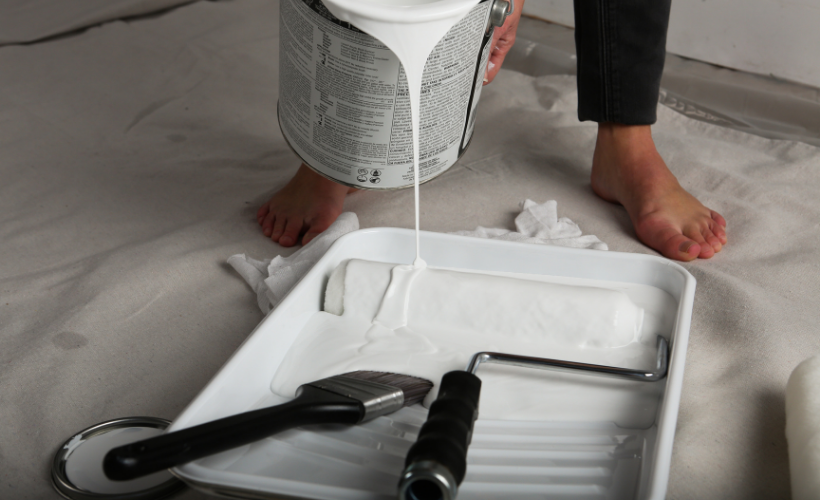
Prep work will be the vast majority of your time spent painting the interior of your home. To the best of your ability, empty the room you are painting, and cover whatever you cannot move with drop cloths. You’ll need to wash the walls, remove wallpaper, patch, spackle, seal stains, dry and sand before you start to paint. Now is also the time to apply painters tape for trimming, sealing off your windows and doors.
Cover the floors with drop cloths to protect them from paint drips and splatters. Canvas drop cloths are extremely durable and absorbent, so they can be reused. Plastic drop cloths are durable and less expensive but not absorbent, so spills are more likely to be tracked if stepped on. Paper is the most economical but can tear easily on floors and can lead to a serious mess. It is better for covering light fixtures, cabinets and furniture.
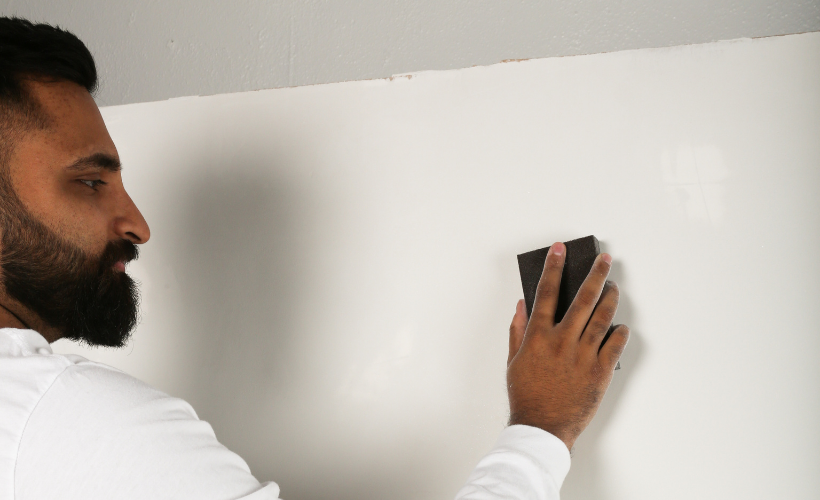
Use caulking with a putty knife to fill and repair any holes or imperfections, then take a small piece of very fine sandpaper or a sanding sponge to smooth the repaired areas flush with the surface.
Prime.
Primer not only covers up colours and stains, it also adds a layer to allow the top coat of paint to better adhere to, giving you a much smoother result. Although not all surfaces may feel like they need a prime coat, we recommend priming everything! Dark colours will likely show through the first — or even the first couple– topcoats of paint.
Paint!
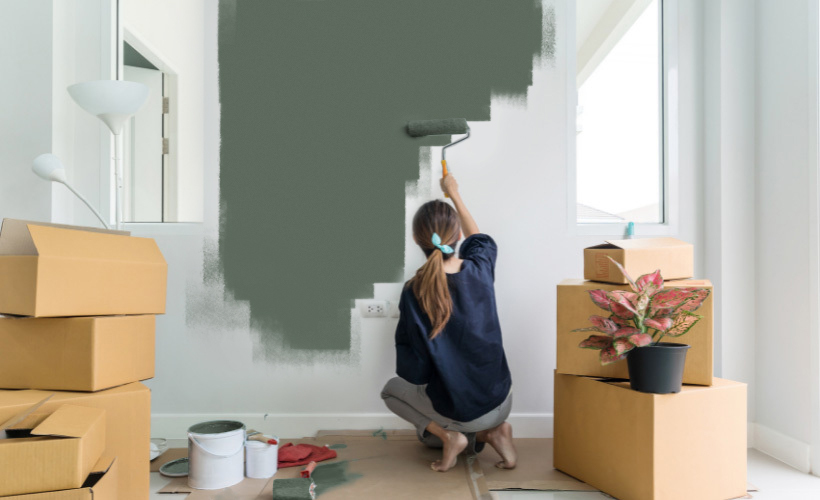
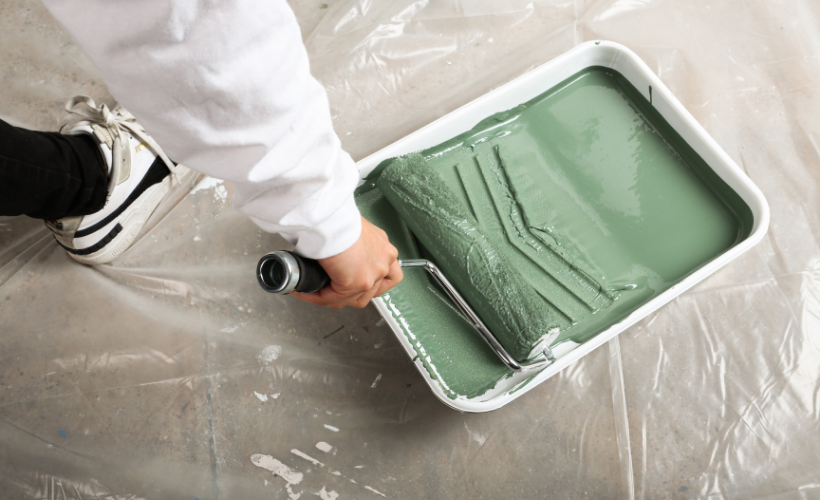
Get started! Start with the largest or most difficult room first so that the task gets progressively easier! Paint your ceiling first, then your walls one at a time. Start with your cut and then roll the rest. You’ll achieve a smoother, more seamless look by blending the wet paint you’ve brushed on with wet paint you’re rolling. This is one of the best painting techniques for walls and is called “working to a wet edge.” Working top to bottom, roll back and forth across the wall in a series of V- or W-shape strokes until the section is covered.

Clean up!
Remove your painter’s tape right before or right after the paint dries completely. If left on too long, small pieces of the tape may tear and leave ugly residue. Tightly seal the remaining paint in cans and store in a cool, dry place. Thoroughly clean your paint brushes and rollers with warm soapy water. Remove drop cloths and put furniture back in place, and enjoy your new space!
So now you know where to start, use these steps to guide you through your home paint process. Shop our interior paint collection here for some inspiration to change up the colour of your home.