Any DIY paint project requires a few extra steps to ensure a long-lasting, smooth, and professional finish. From thoroughly cleaning your walls, to filling, sanding, taping and priming, each step is vital to avoid peeling or an uneven finish.
That’s why we’ve compiled the perfect prepping principles to ensure your next paint project is a successful one – let’s get started!
Step 1: Patch Any Visible Holes
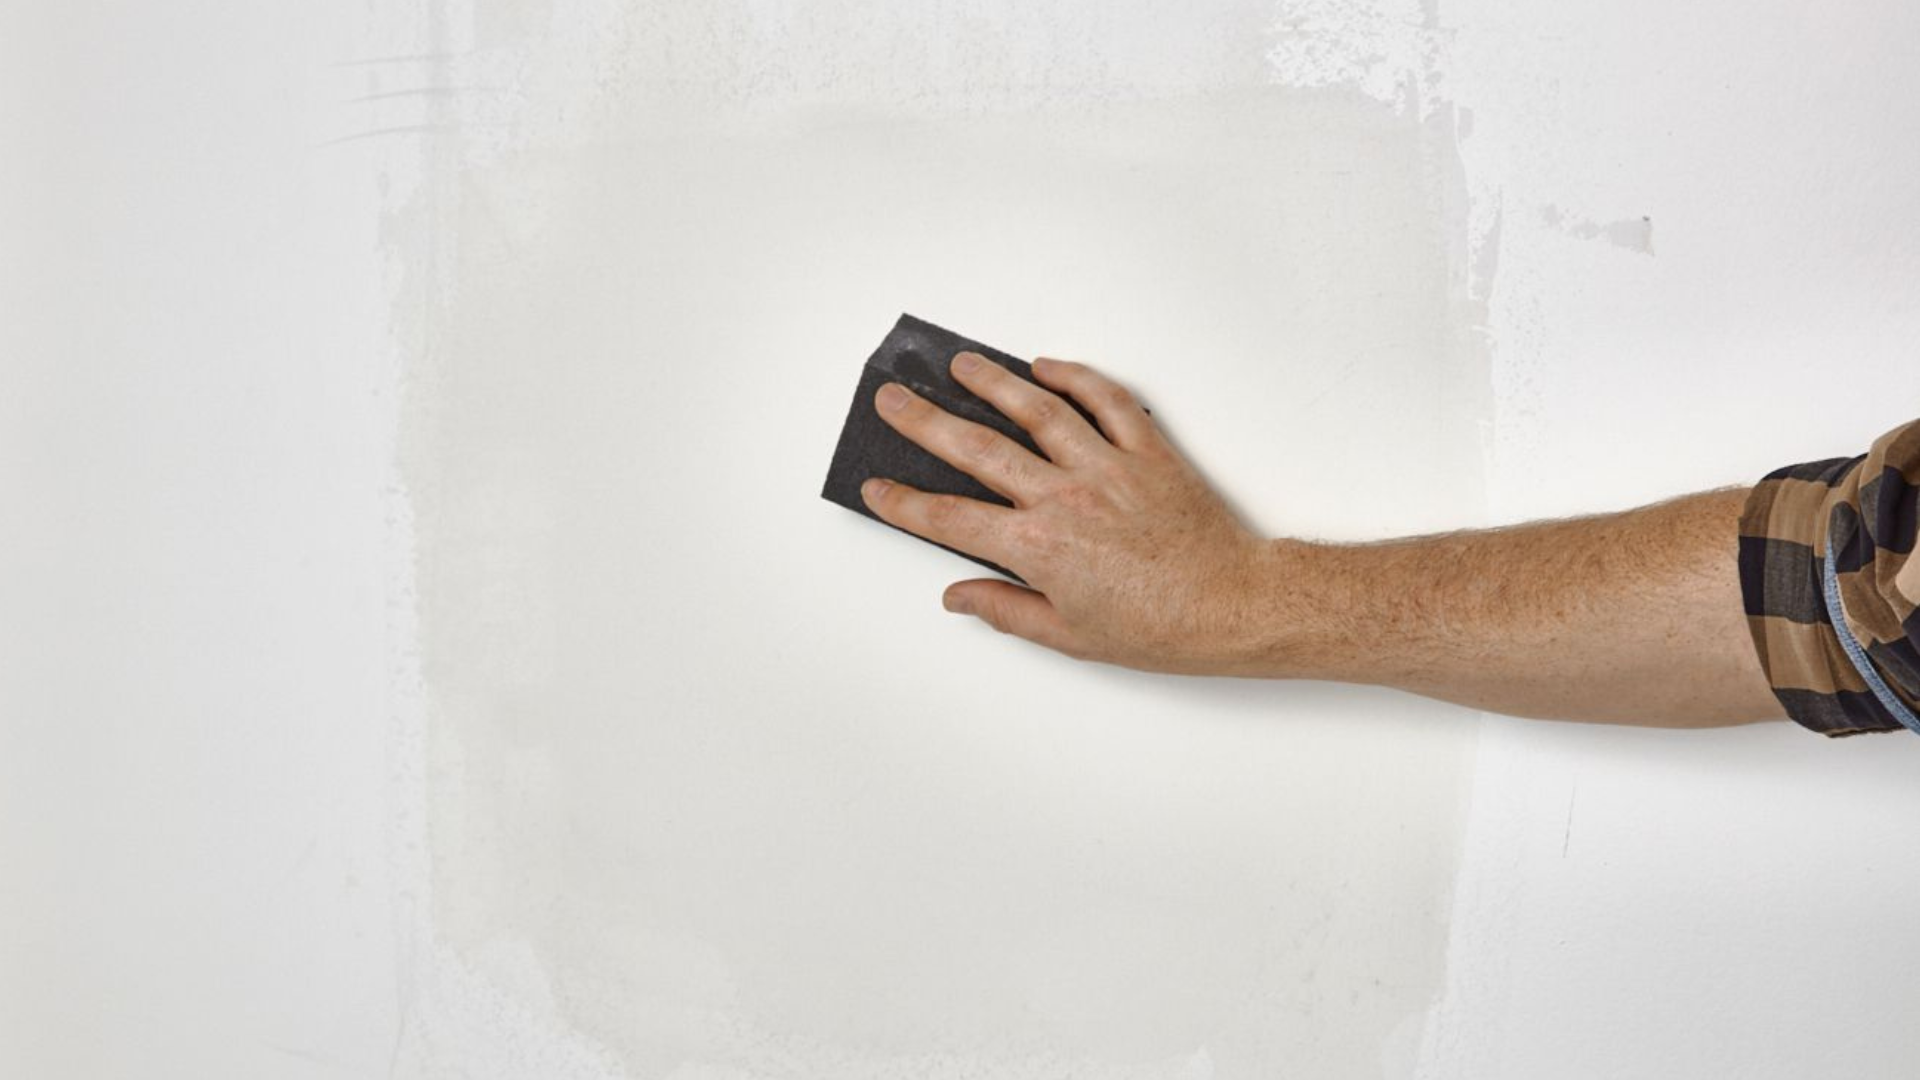
The first step is to scout out any visible damage to the walls. If there is and to avoid any disappointment, take your time and patch any holes before you start painting. Don’t worry, you’ll only need a few simple tools – putty knife, spackle or joint compound, and sandpaper!
Simply clean the hole by removing any loose pieces of drywall or large pieces of debris. Take your putty knife to fill the hole with your compound and smear the filler to fill the hole. Allow your filler to completely air-dry.
Lightly sand the area with your sandpaper until smooth, repeat the process if necessary.
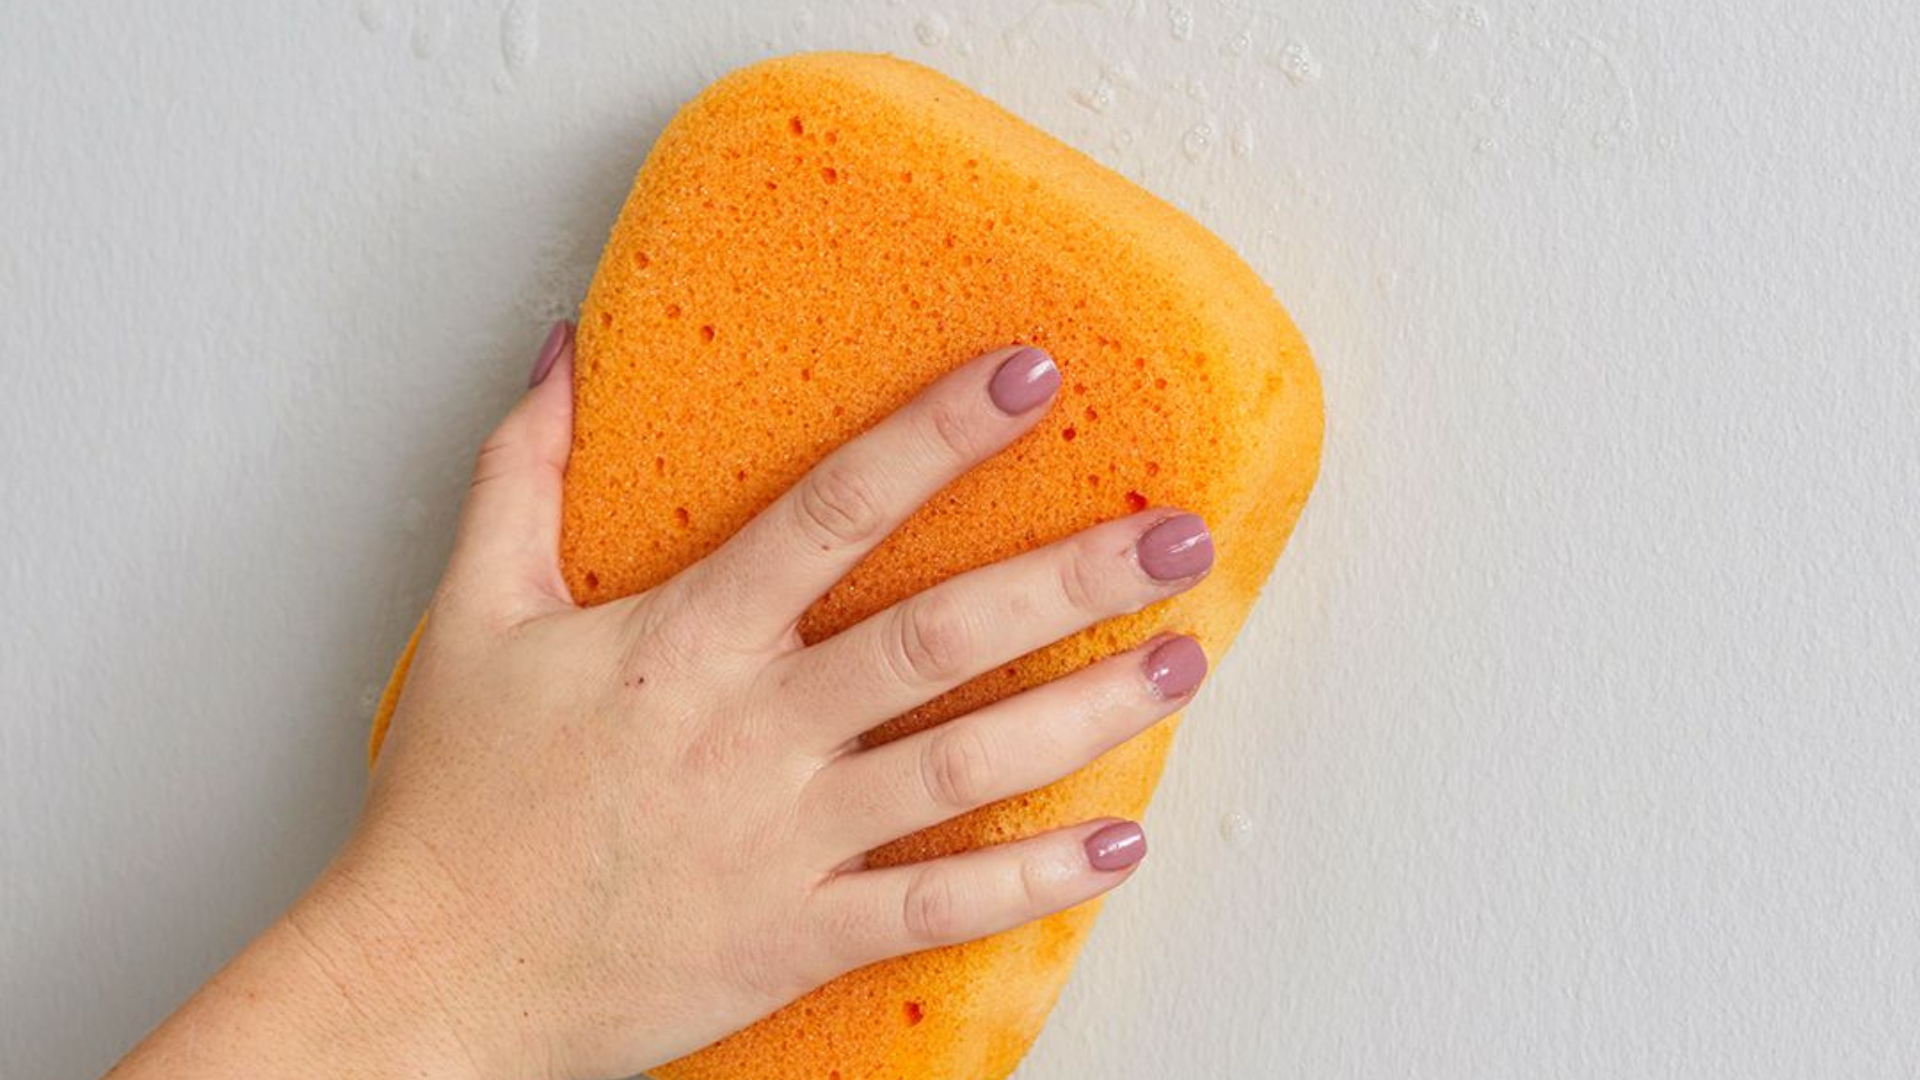
Step 2: Thoroughly Clean The Walls
As tempting as it may be to skip the wall-cleaning task, this step is one of the most important parts of the prepping process. If you’re not an avid duster, you may be surprised at how much dirt and debris collects overtime.
The easiest way to tackle this task is to start at the top and work your way down. Dust the walls with a barely damp cloth (or a Swiffer) using soap and water and try to push the dirt and dust to the floor.
Now, vacuum the dust and pet hair along the baseboards, trim and moulding.
Note: do not use sugar soap as it tends to leave additional residue.
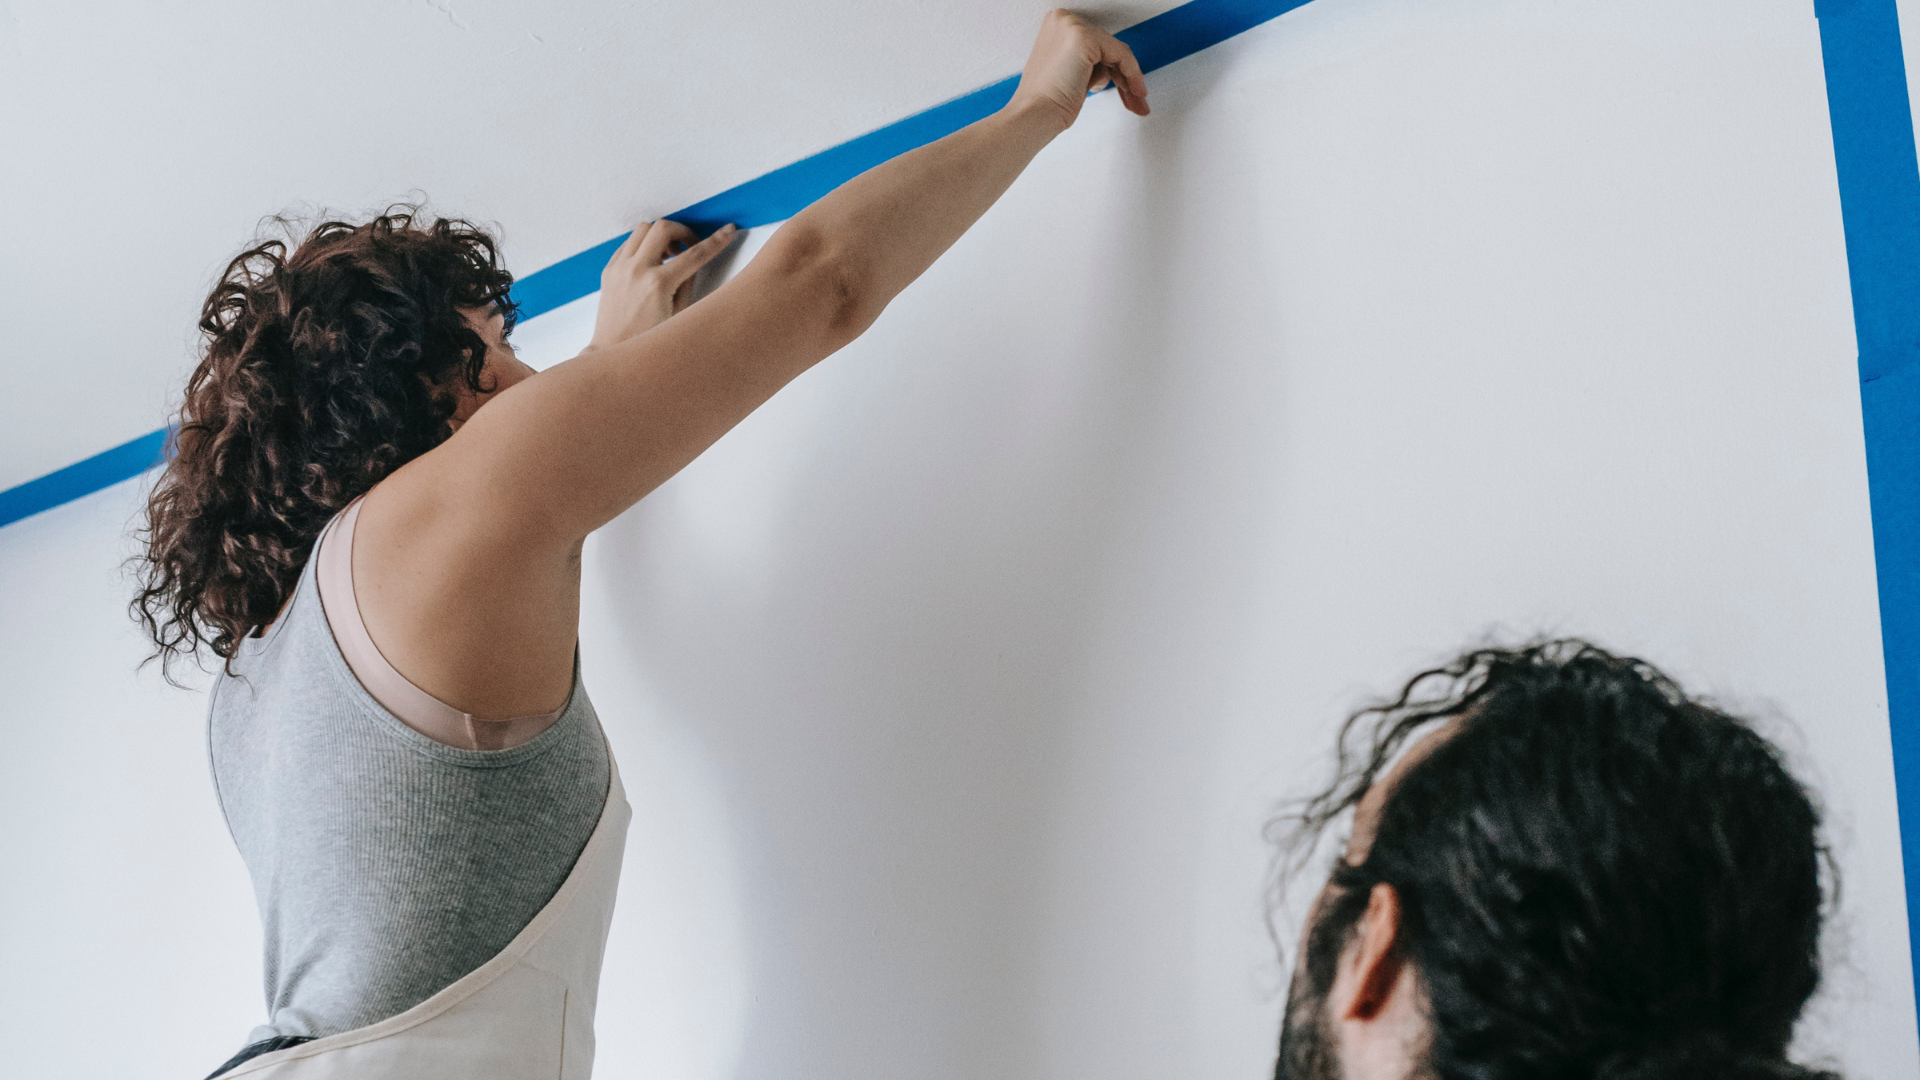
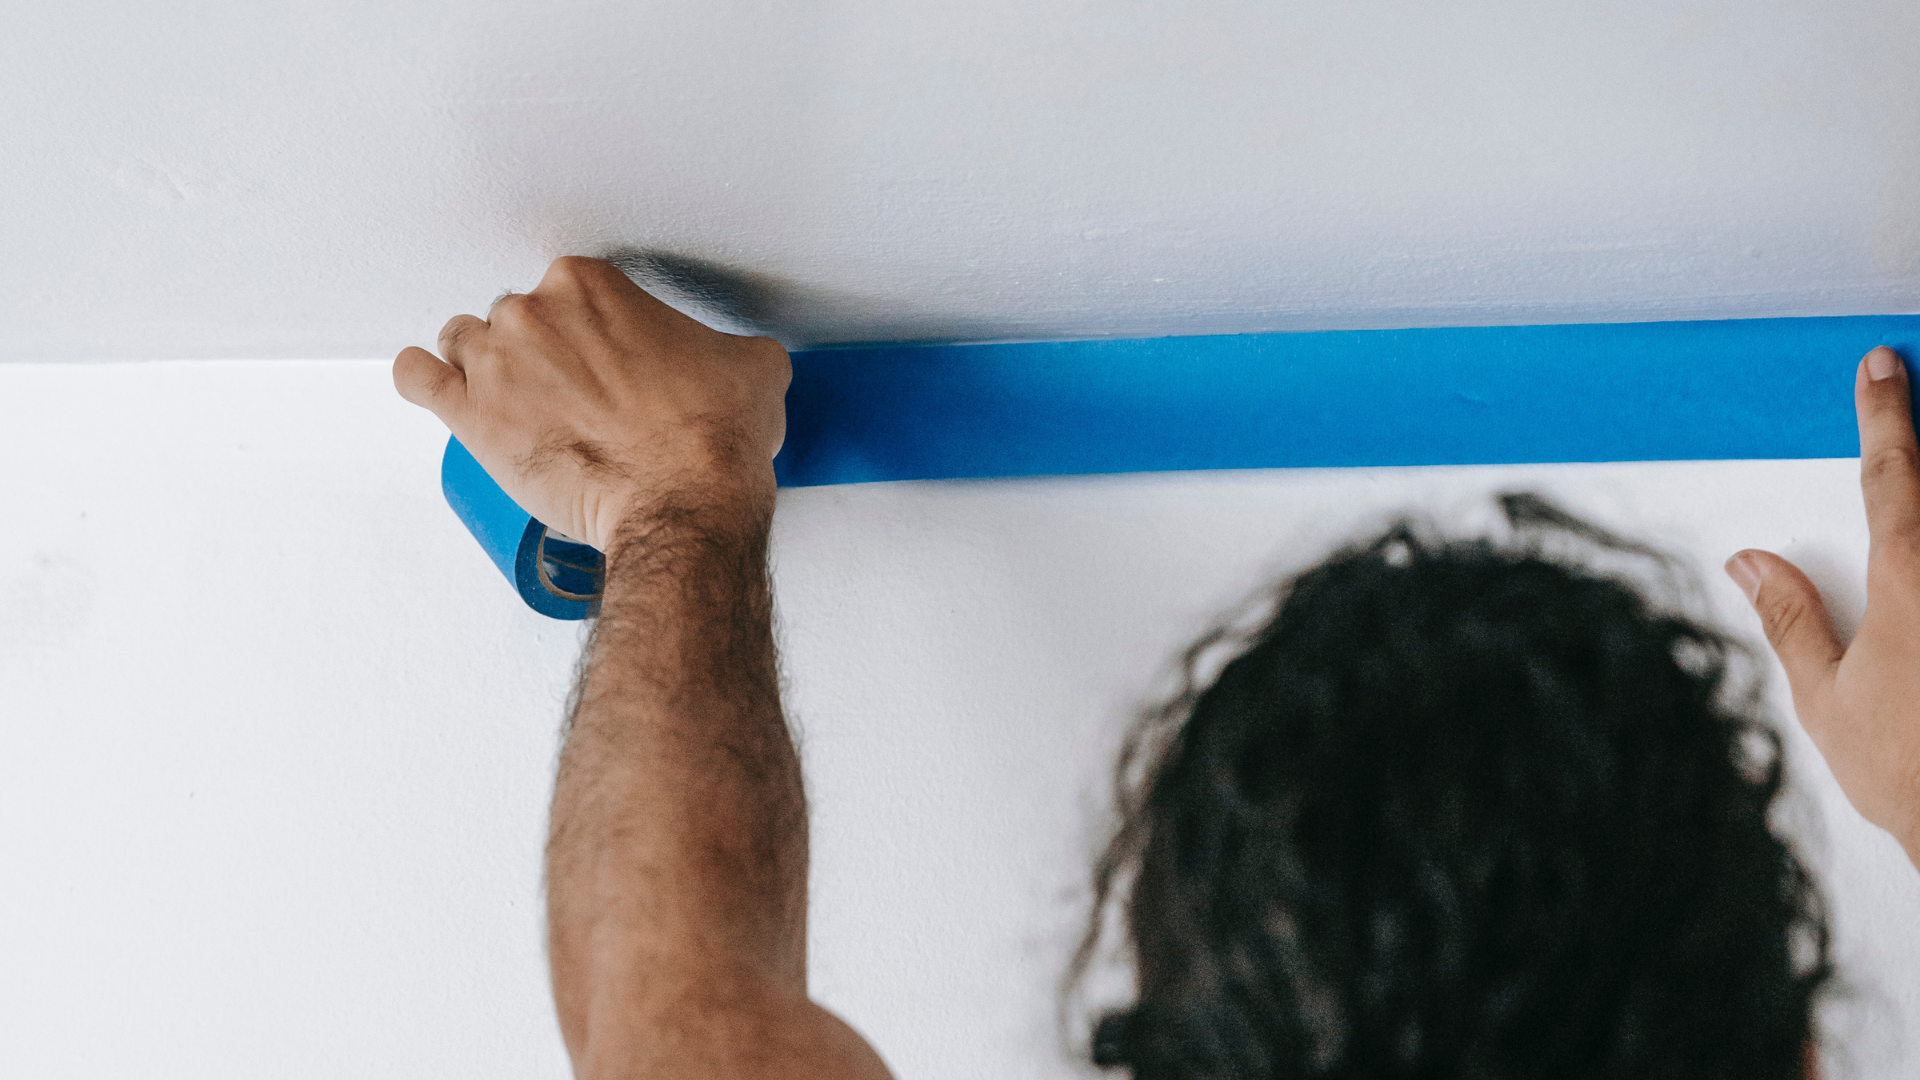
Step 3: Let’s Get Taping
Ensure your walls are completely dry and free from dust before you start prepping. We’re almost ready to start priming, but first we must cover the things we want to avoid getting paint on.
Painters tape is your new best friend, you’ll use it to tape off the trim, molding, floor, electrical and other surfaces you don’t want painted.
Pro Tip: Don’t forget to make space and remove as much furniture as possible for bigger paint projects. It’s always a good idea to put a tarp or covering to protect your floors and valuables.
Step 4: It’s Prime Time
APCO’s Primer is a key essential when it comes to hiding uneven surfaces, imperfections, and sealing the area for paint to adhere. It has low VOC, it’s easy to apply and it’s mould-resistant!
It is difficult for dry rollers to absorb primer right from the start, so it’s best to dampen your paint roller before you begin. Be sure to brush out the damp liquid on a clean surface like cardboard to remove any loose bristles.
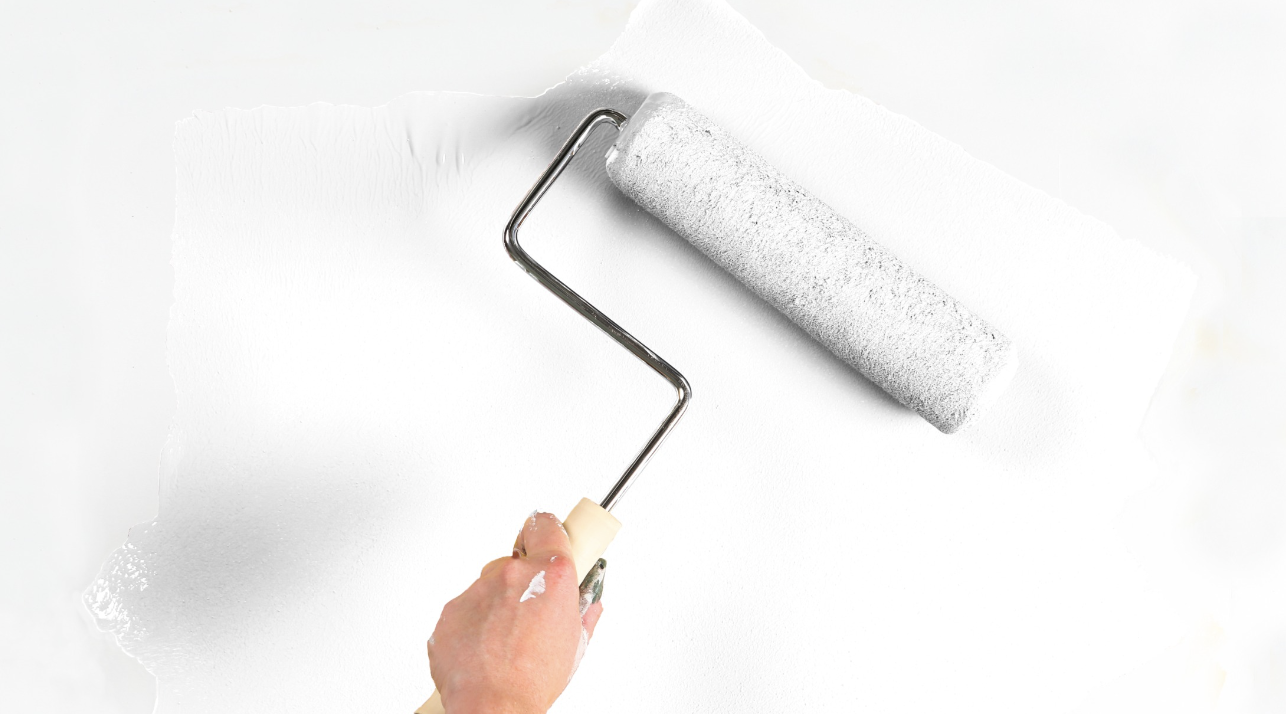
Next, apply the primer in measurable sections, working from top to bottom, in a series of V or W shaped strokes until your entire section is covered. Repeat until the entire wall is covered.
APCO’s Primer recommends 2 coats of primer for any bolder colours prior to painting. Otherwise, 1 coat is enough for any lighter colours. Wait for the first coat to dry and recoat the wall 2 hours later. For further details, read APCO’s product information sheet.
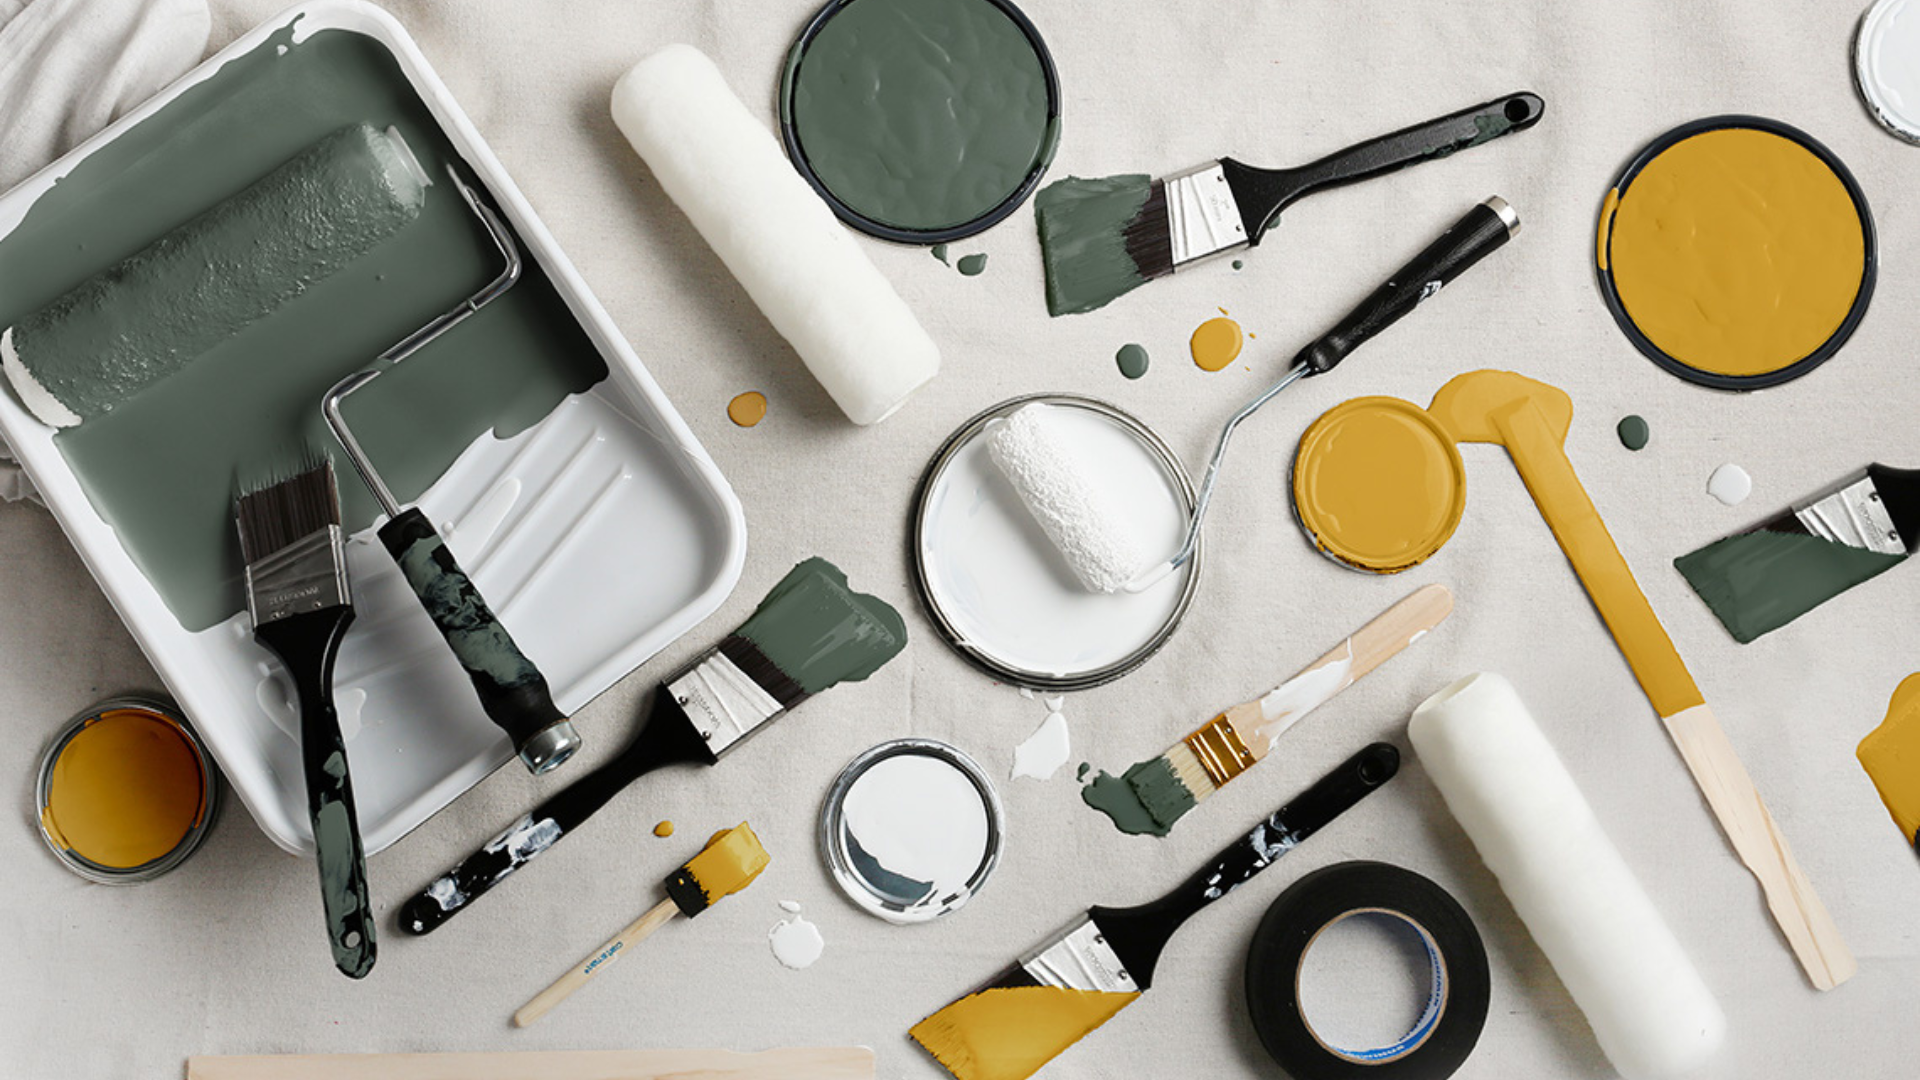
Step 5: The Fun Part!
It’s time to start painting but don’t forget about those extra supplies that may just come in handy – tarps, brushes, trays, stirrers, can opener, and additional rags to wipe away spills or splatters.
Remember to stir the paint thoroughly before and during use. If APCO’s interior paint is used, apply one coat over your primer. Follow up if needed with additional paint to smooth out lines and uneven spots. Remember to wait until the paint is dry to apply a second coat if needed.
Pro Tip: Tape should be removed when it feels dry to the touch, however, don’t wait too long as you may risk ripping or peeling off dried paint. Read the manufacturers label for further instructions.