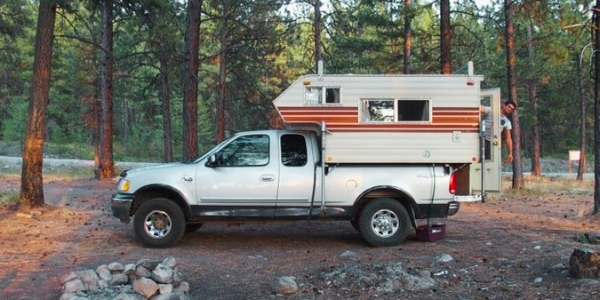
After renovating the interior of the 1980’s camper a few months ago, it was time to spruce up the exterior now that the weather was a lot warmer and road trip season was commencing.
The goal was to spend less time and money working on the camper and more time driving around and adventuring in our backyard. We wanted to add a bespoke design on the side so we could really make it our own.
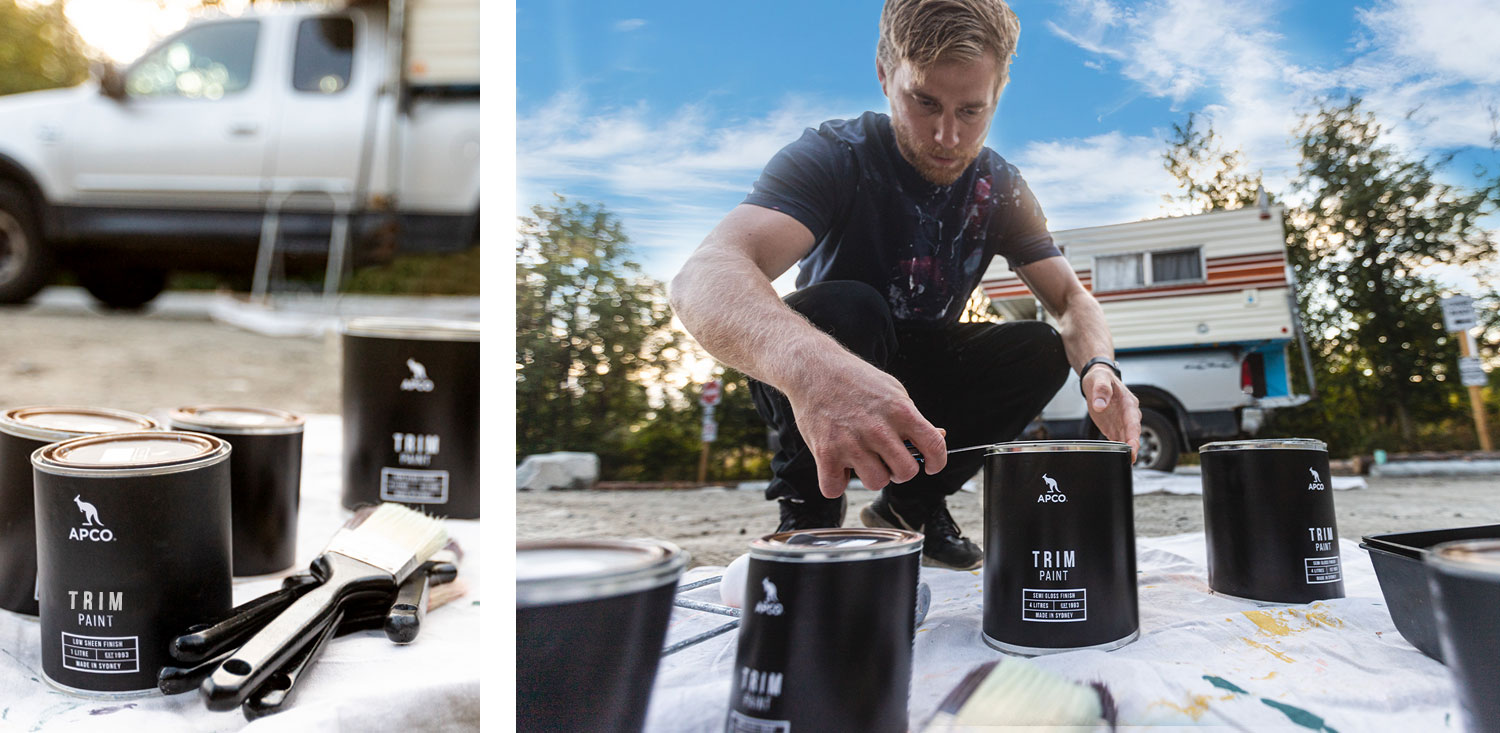
The guide focuses on painting your exterior camper with a paint brush and roller using APCO paint.
First things first, gather the tools:
There is nothing worse than starting a project and realising halfway you are missing something and then needing to pause and head over to the local hardware store.
Before you start your project, we recommend having these tools and accessories handy:
- Sand Paper
- Body Filler
- Protective Mask
- Roller Tray
- Roller Tray Liners
- Roller Handle + several covers
- Paint Brushes
- Painters Tape
- Trim Paint
- Can Opener
- Paint Stirrer
- Plastic Drop Cloth + Canvas Drop Cloth
Prepare The Camper:
Before you even pick up the paint roller, there are a few things you’ll need to do to make the process seamless. Like any paint project, you want to get the surface ready and prevent mess!
Surface Prep:
- Fill the holes and rust spots that are quite visible on the surface with a Body Filler (check out our Auto Ace range).
- Sand it down properly and make sure you get into the grooves (if you have them). This will ensure a smooth finish.
- Give the camper a good wash when you are finished to get rid of dust and grease.
- If you’re fancy, a pressure washer would be best. It’ll give it a good clean.
- Let the camper dry properly before getting started with painting.
Painting Prep:
- If you don’t want paint on it, tape it up. If you’re rolling it, you don’t have to cover as much, however you want to make sure your windows, door handles, and around the lights are all taped up.
- Lay down all the drop cloths and protect the surroundings.
Painting The Camper:
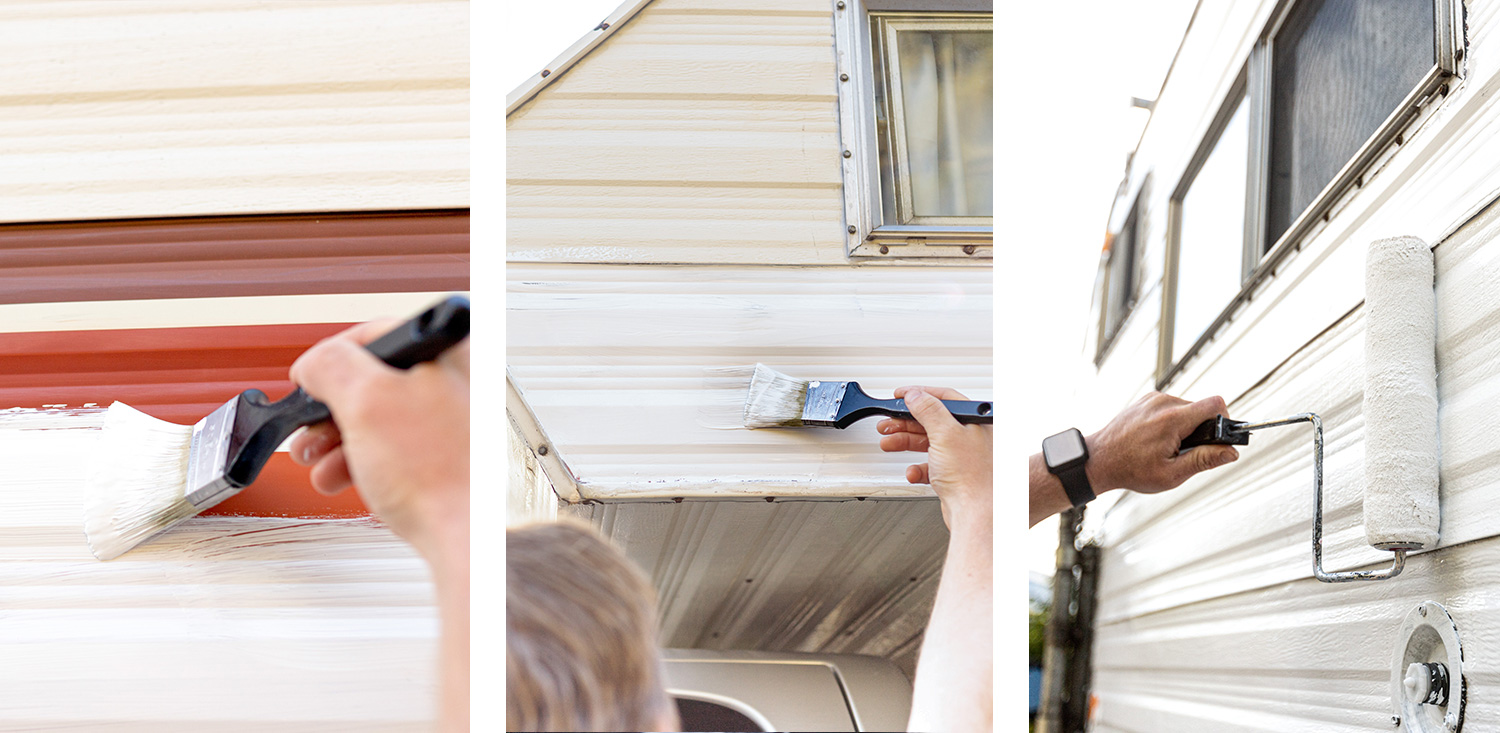
The First Layer | Prime:
- Cover up all the bits you want to hide.
- Prime the surface with APCO Primer and make it a blank canvas.
- Use a brush to get into the nooks and crannies.
- Roll the rest up and down, overlapping each roll, to get an even surface.
- Let it dry for a couple of days.
The Second Layer | The Base Colour:
- The overall background colour.
- Similar to the first layer instructions – we added APCO White Paint as the background base colour.
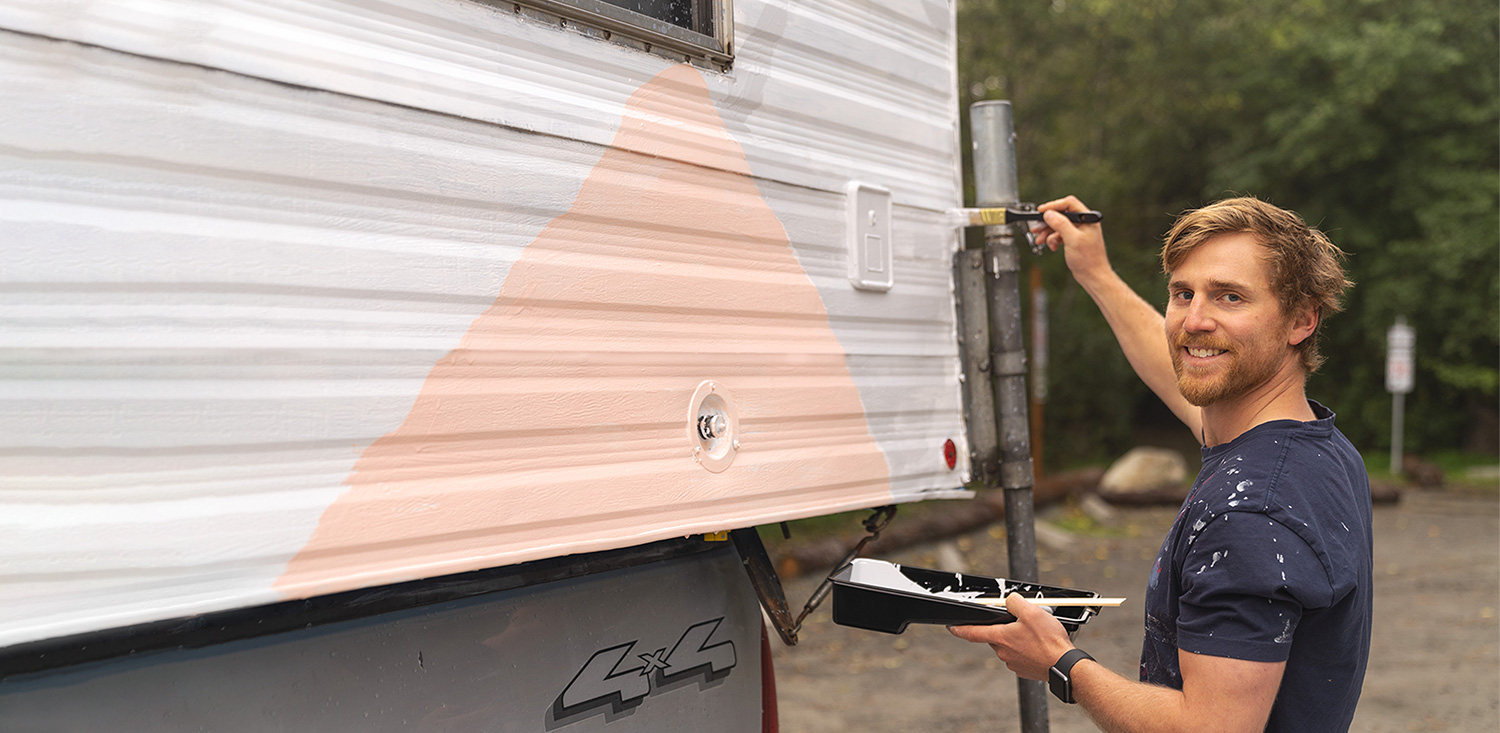
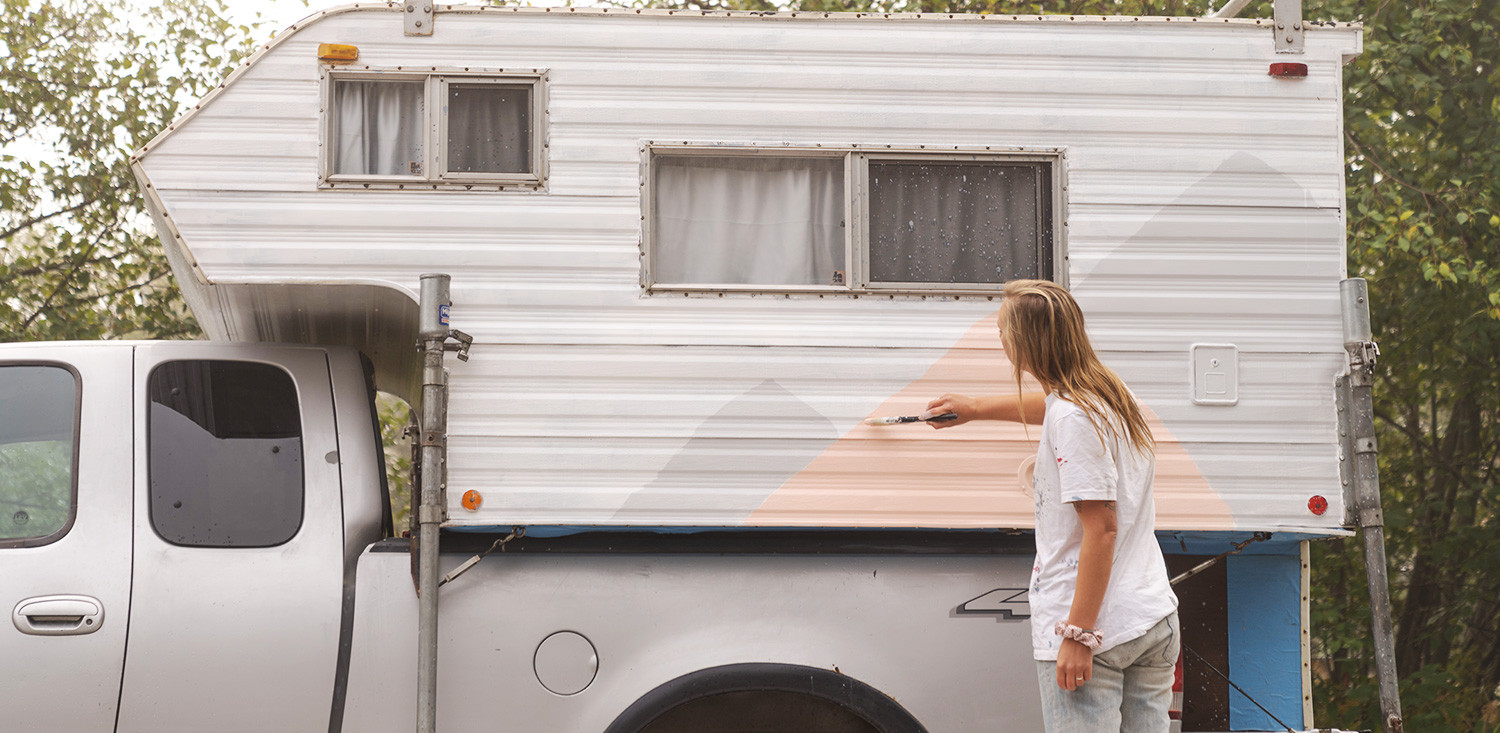
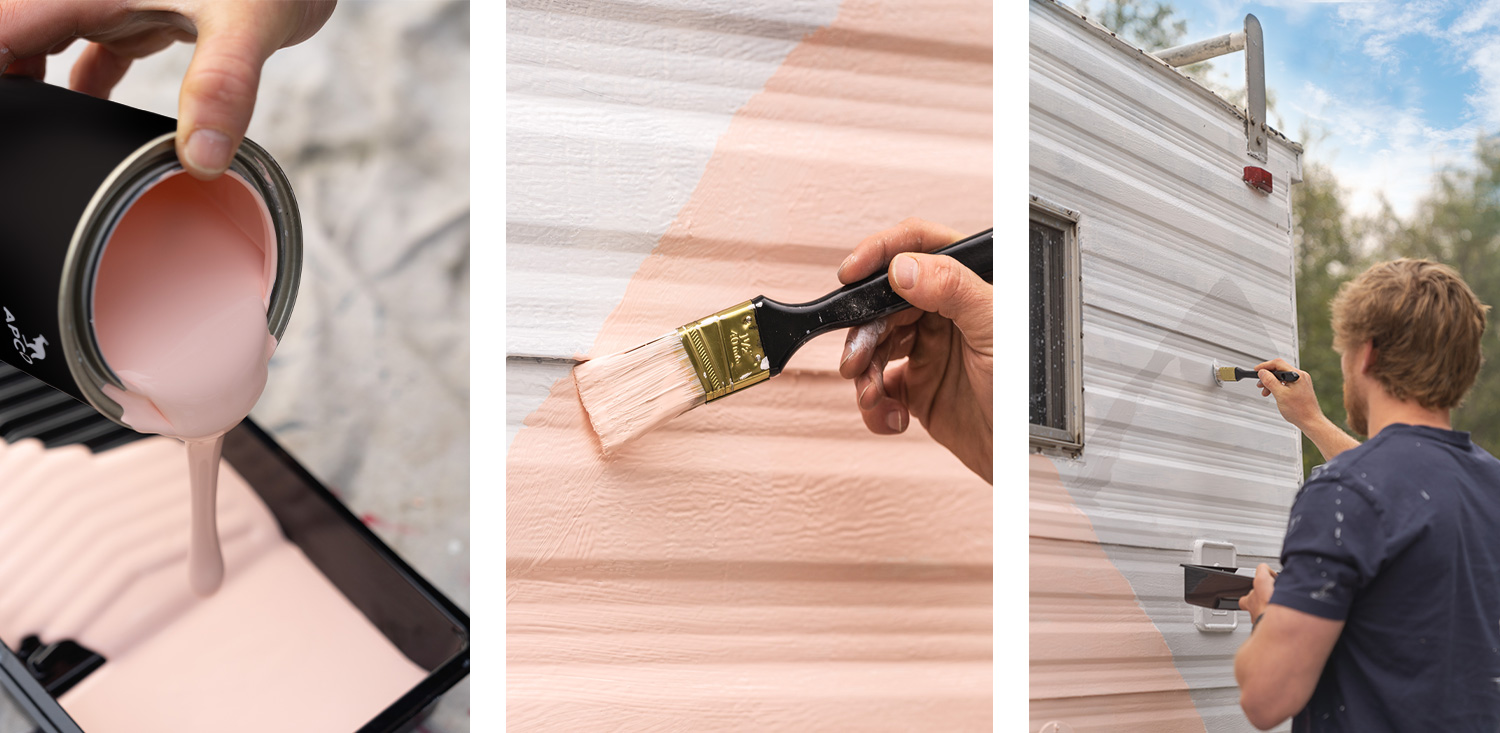
The Third Layer | Stencil The Design.
- Use a pencil to draw the design you would like to put on the camper and then use masking tape to outline.
- Depending on how confident you feel, you can paint the entire design in one-go. OR you can wait a few hours in between each colour so you can keep applying a stencil for each section. If you do this method, you’ll want the paint to dry properly in between.
- The colours on our camper are Rainy Afternoon & Soft Peach. They work well together and compliment the mountain design.
The Finale:
Whether you want to spruce it up slightly or give it a unique look for the road, painting your camper exterior is a lot easier than you think. You are now ready to hit the road in style.
Get started on your next project and order your paint today.