STEP 1 | ORDER
SAMPLES
Painting a room, especially if it’s your first major DIY project, can be a little daunting! So, we’re here to make it easy AND fun, and to guide you through every step of the process. We’ve created (if we do say so ourselves) some amazingly useful samples to help you choose the perfect colour for your space. They’re really easy to use, large enough to give you a good idea of how the colour will look and won’t damage your wall. Oh! Did we mention they are mess-free, can be moved around and you don’t have to deal with a patchy wall covered in paint samples?
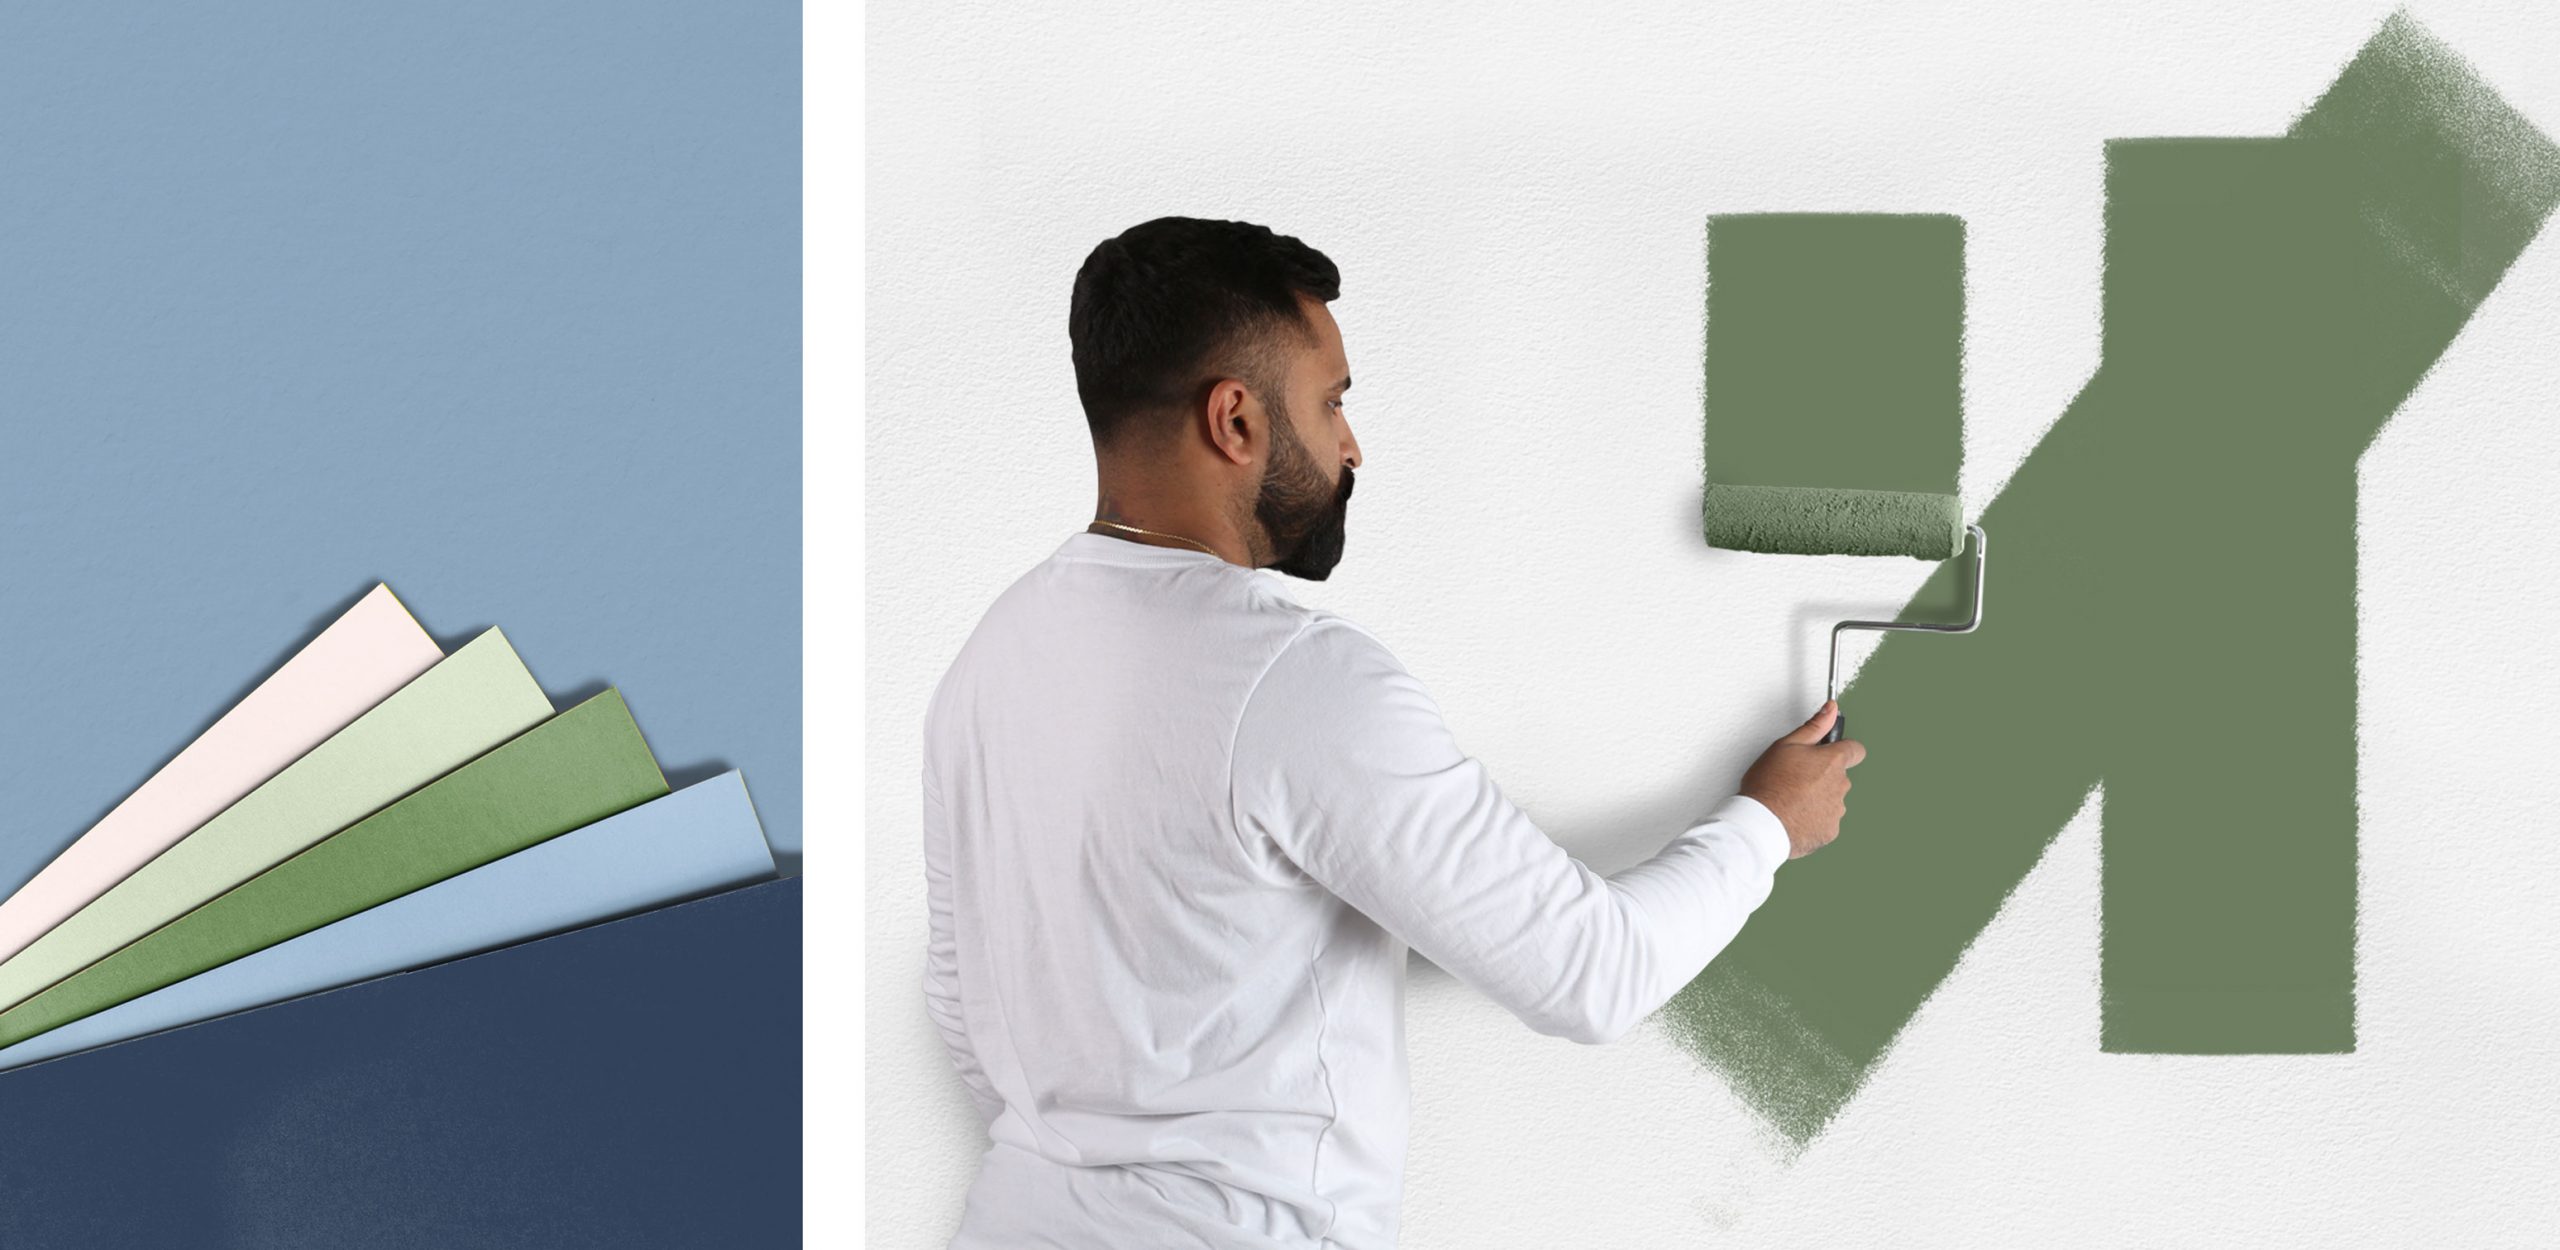
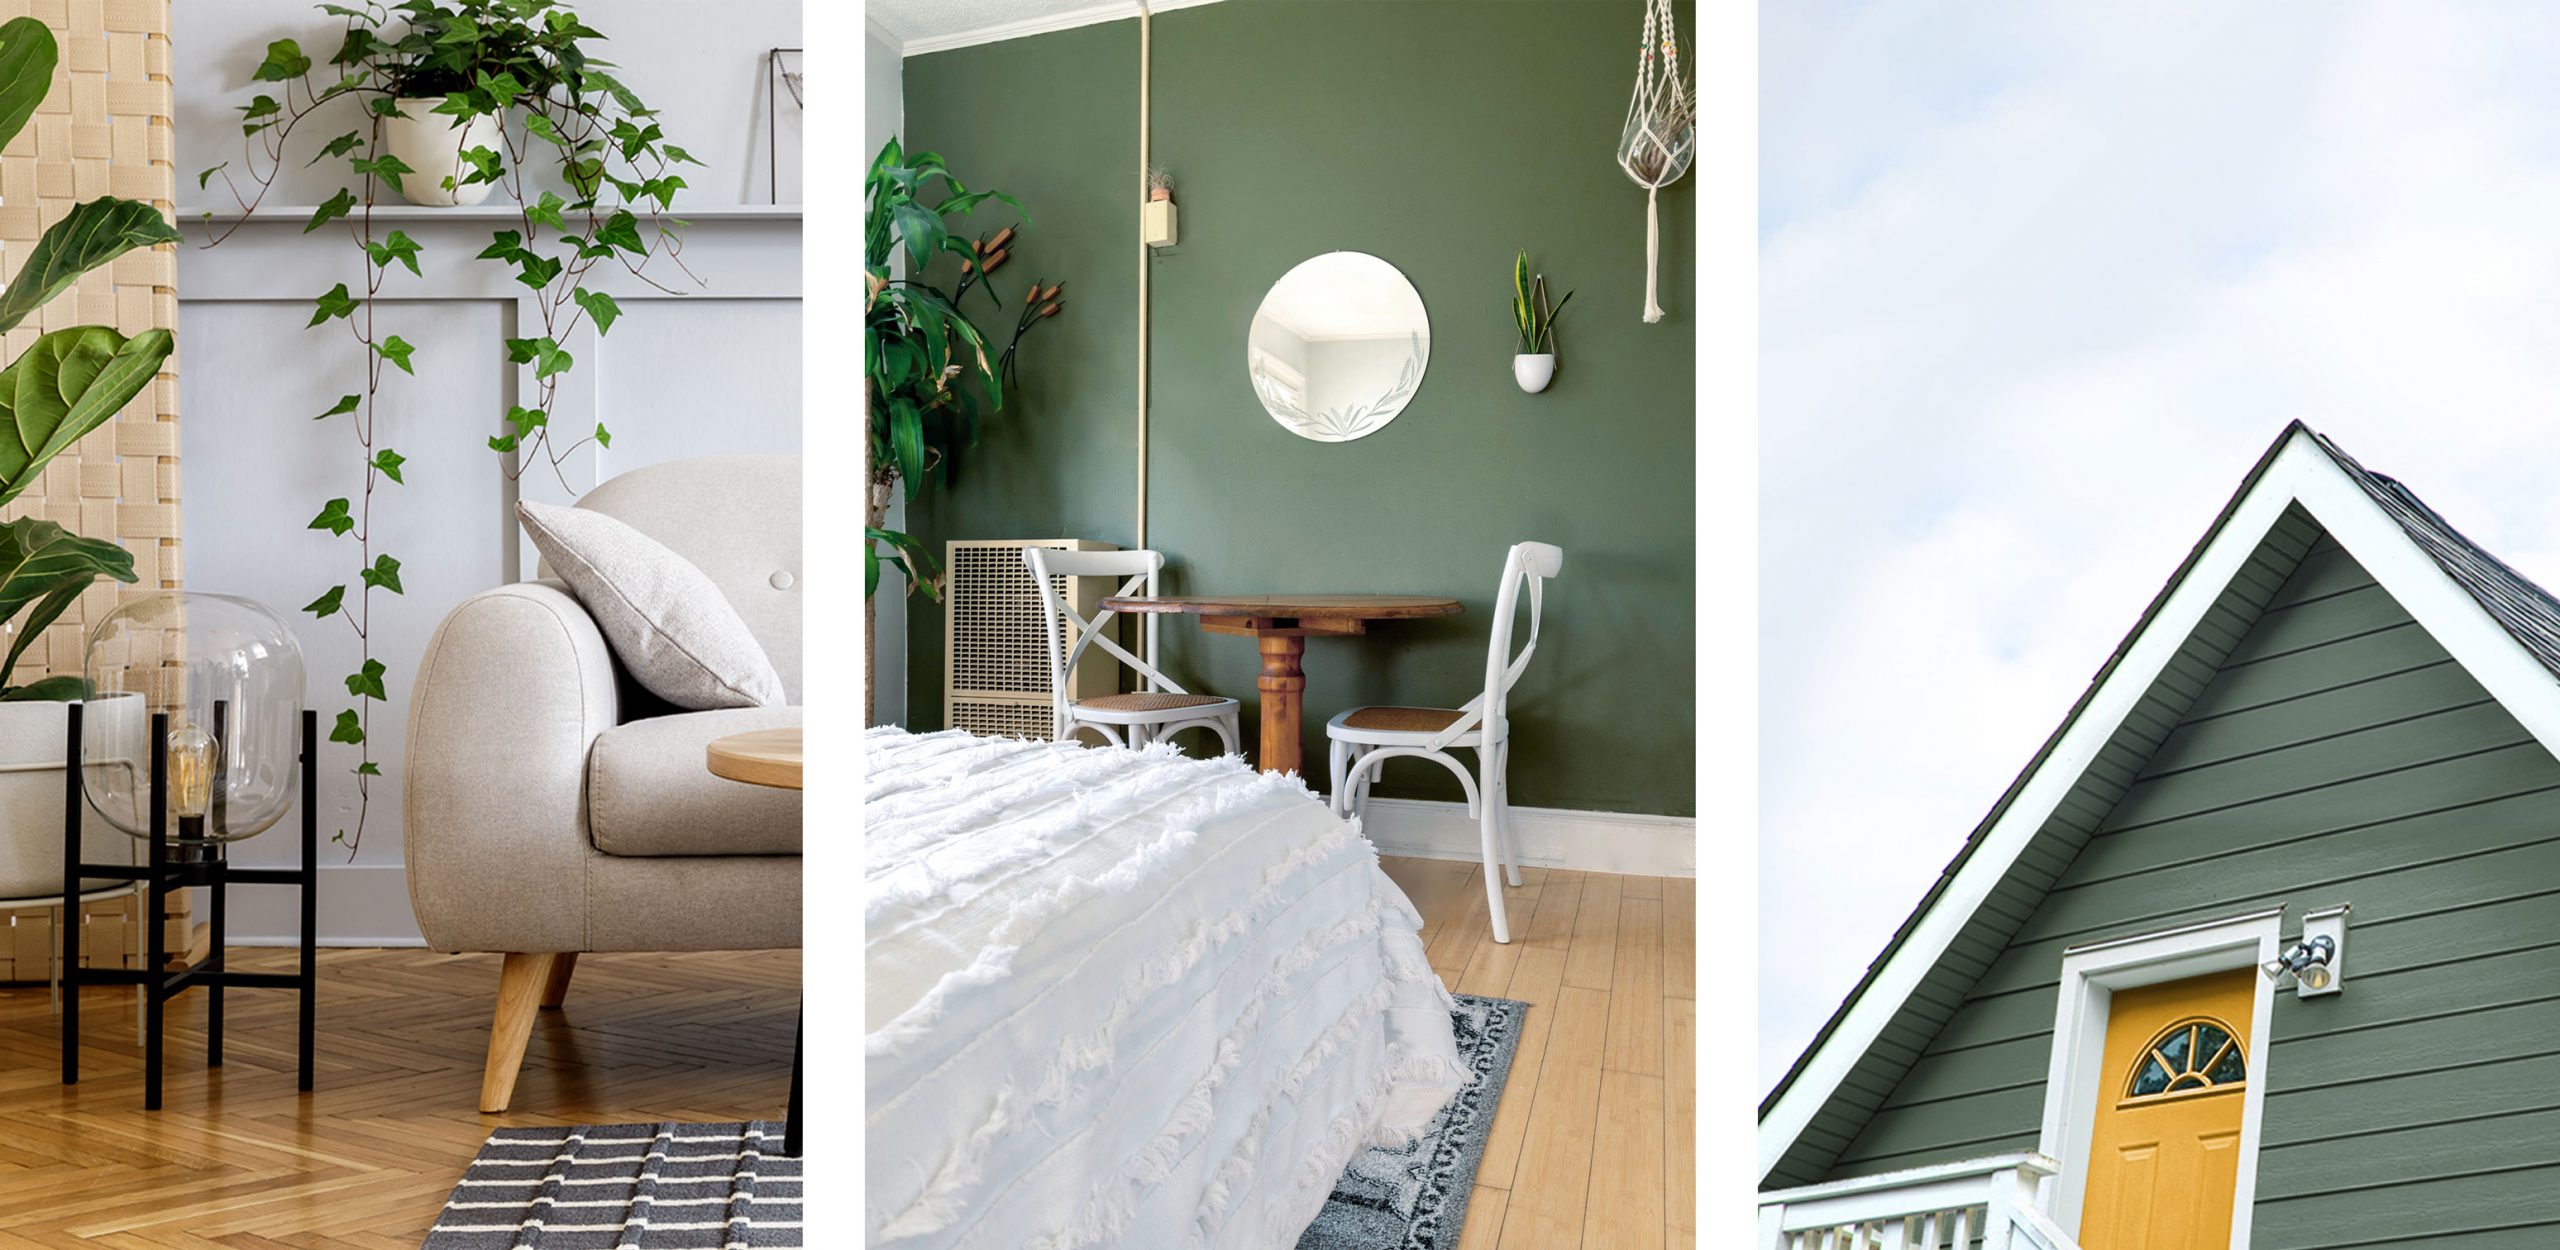
PICK YOUR COLOUR
It’s time to explore our professionally curated colour collection and pick a colour. Get a 30cm x 30cm sample that you can stick on your wall, move from wall to wall and peel off when you’re finished. Have some fun with it, and check the colours against your furniture. No need to sit around watching paint dry. However, it’s a good idea to invest some time in checking the sticky samples throughout the day, as different lighting may make the colour appear different. The warmth of natural light will change as the sun moves and the tungsten light from bulbs will also make a difference.
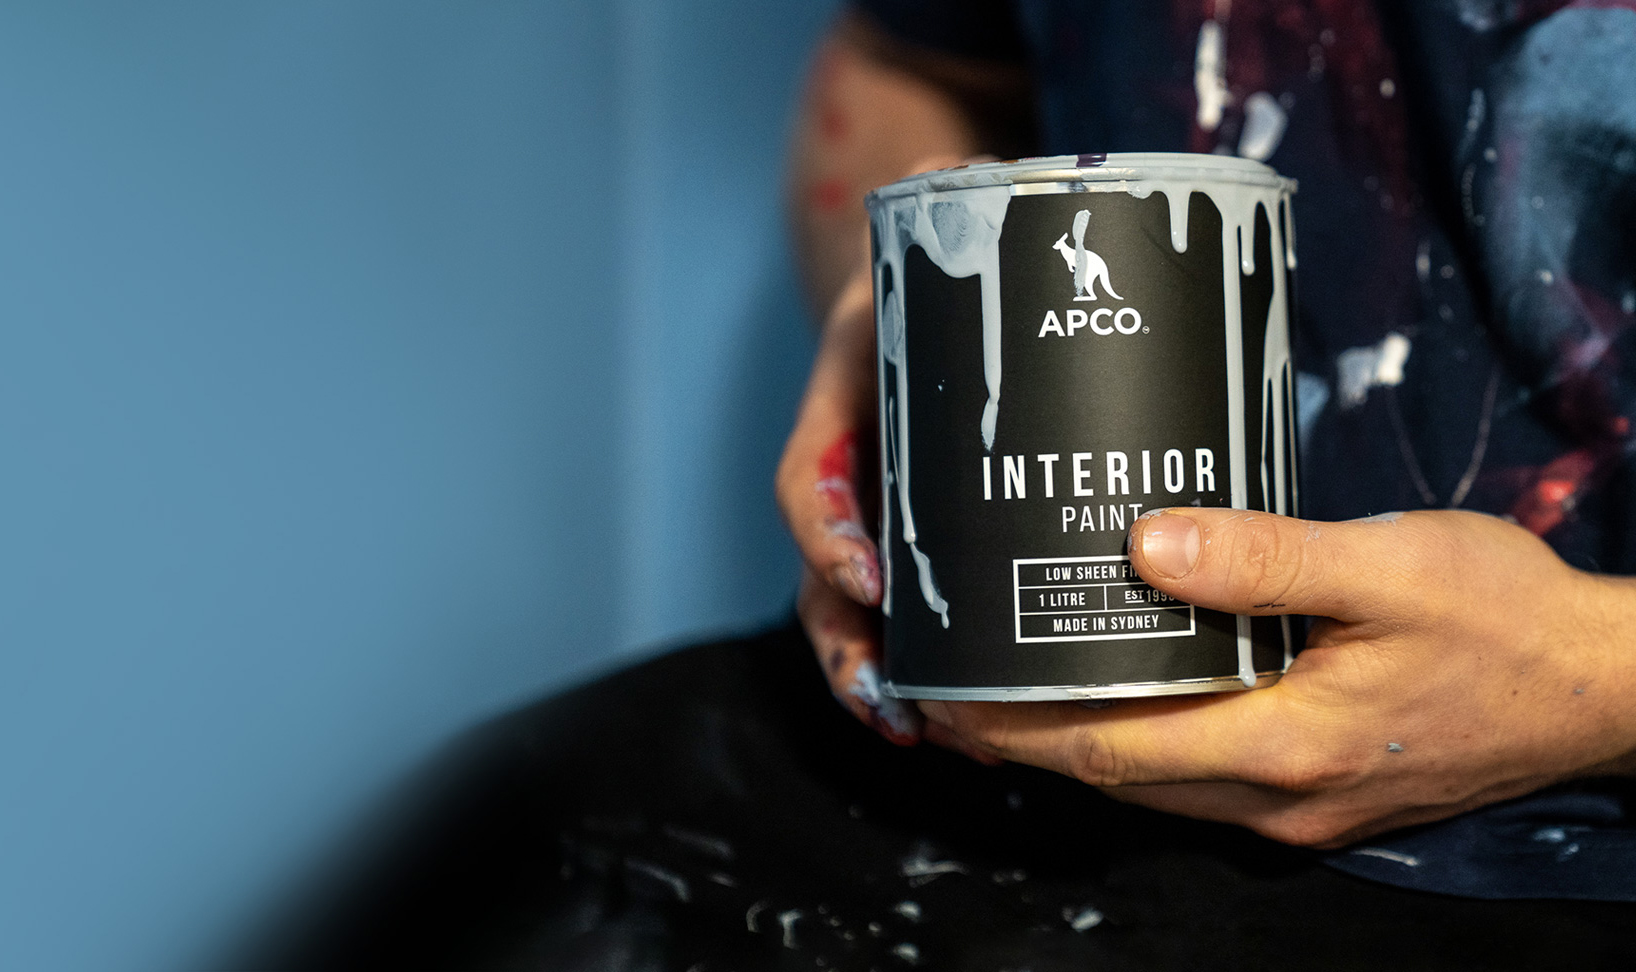
DOORSTEP DELIVERY
Once you’ve found the perfect colour, go ahead and order yourself some APCO paint. We offer free delivery for orders over $200. Sit back, relax and wait for the paint to arrive at your door.
STEP 2 | PREP
SET THE MOOD
Convince your crew this is going to be fun, order some pizza and make it a painting party. Get the creative vibes flowing and put together some killer beats, or start streaming your favourite playlist on Spotify.
PREPARE
Don’t skip prep day. Move all furniture away from the walls and remove all art, nails, hooks, and switch plates. Try to cover everything with plastic drop sheets, Dexter style! Trust us, it’s so much easier than removing drips or spills later.
GET YOUR CLEAN ON
Vacuum, dust, and sweep the room so there’s nothing to get stuck to your shiny new paint job. Lastly, wipe down your walls with a clean, damp rag in the areas you are working on. Voila, your walls are prepped!
PATCH
No, paint won’t properly fill those holes in the wall. Apply patch to any nail holes and other imperfections on the wall, then let it properly dry. Once it has dried, sand over the patch until it’s smooth or flush with the surrounding area.
DROPCLOTH
When paint splatter can very easily ruin everything, drop it like it’s cloth! Put down your APCO canvas drop cloth before you start painting. Trust us, we learned the hard way.
STEP 3 | PAINT
PRIME (OPTIONAL)
Our paint is self-priming, so you won’t need to apply a primer. Good, right? However, if you are painting over a glossy finish, never-painted areas or a dark colour, we recommend using a Primer first.
ORDER
There’s nothing worse than ruining a perfectly painted wall by dripping ceiling paint onto it the next day. Be sure to work through your space from top to bottom: start with your ceilings, then walls, then finish with your trim.
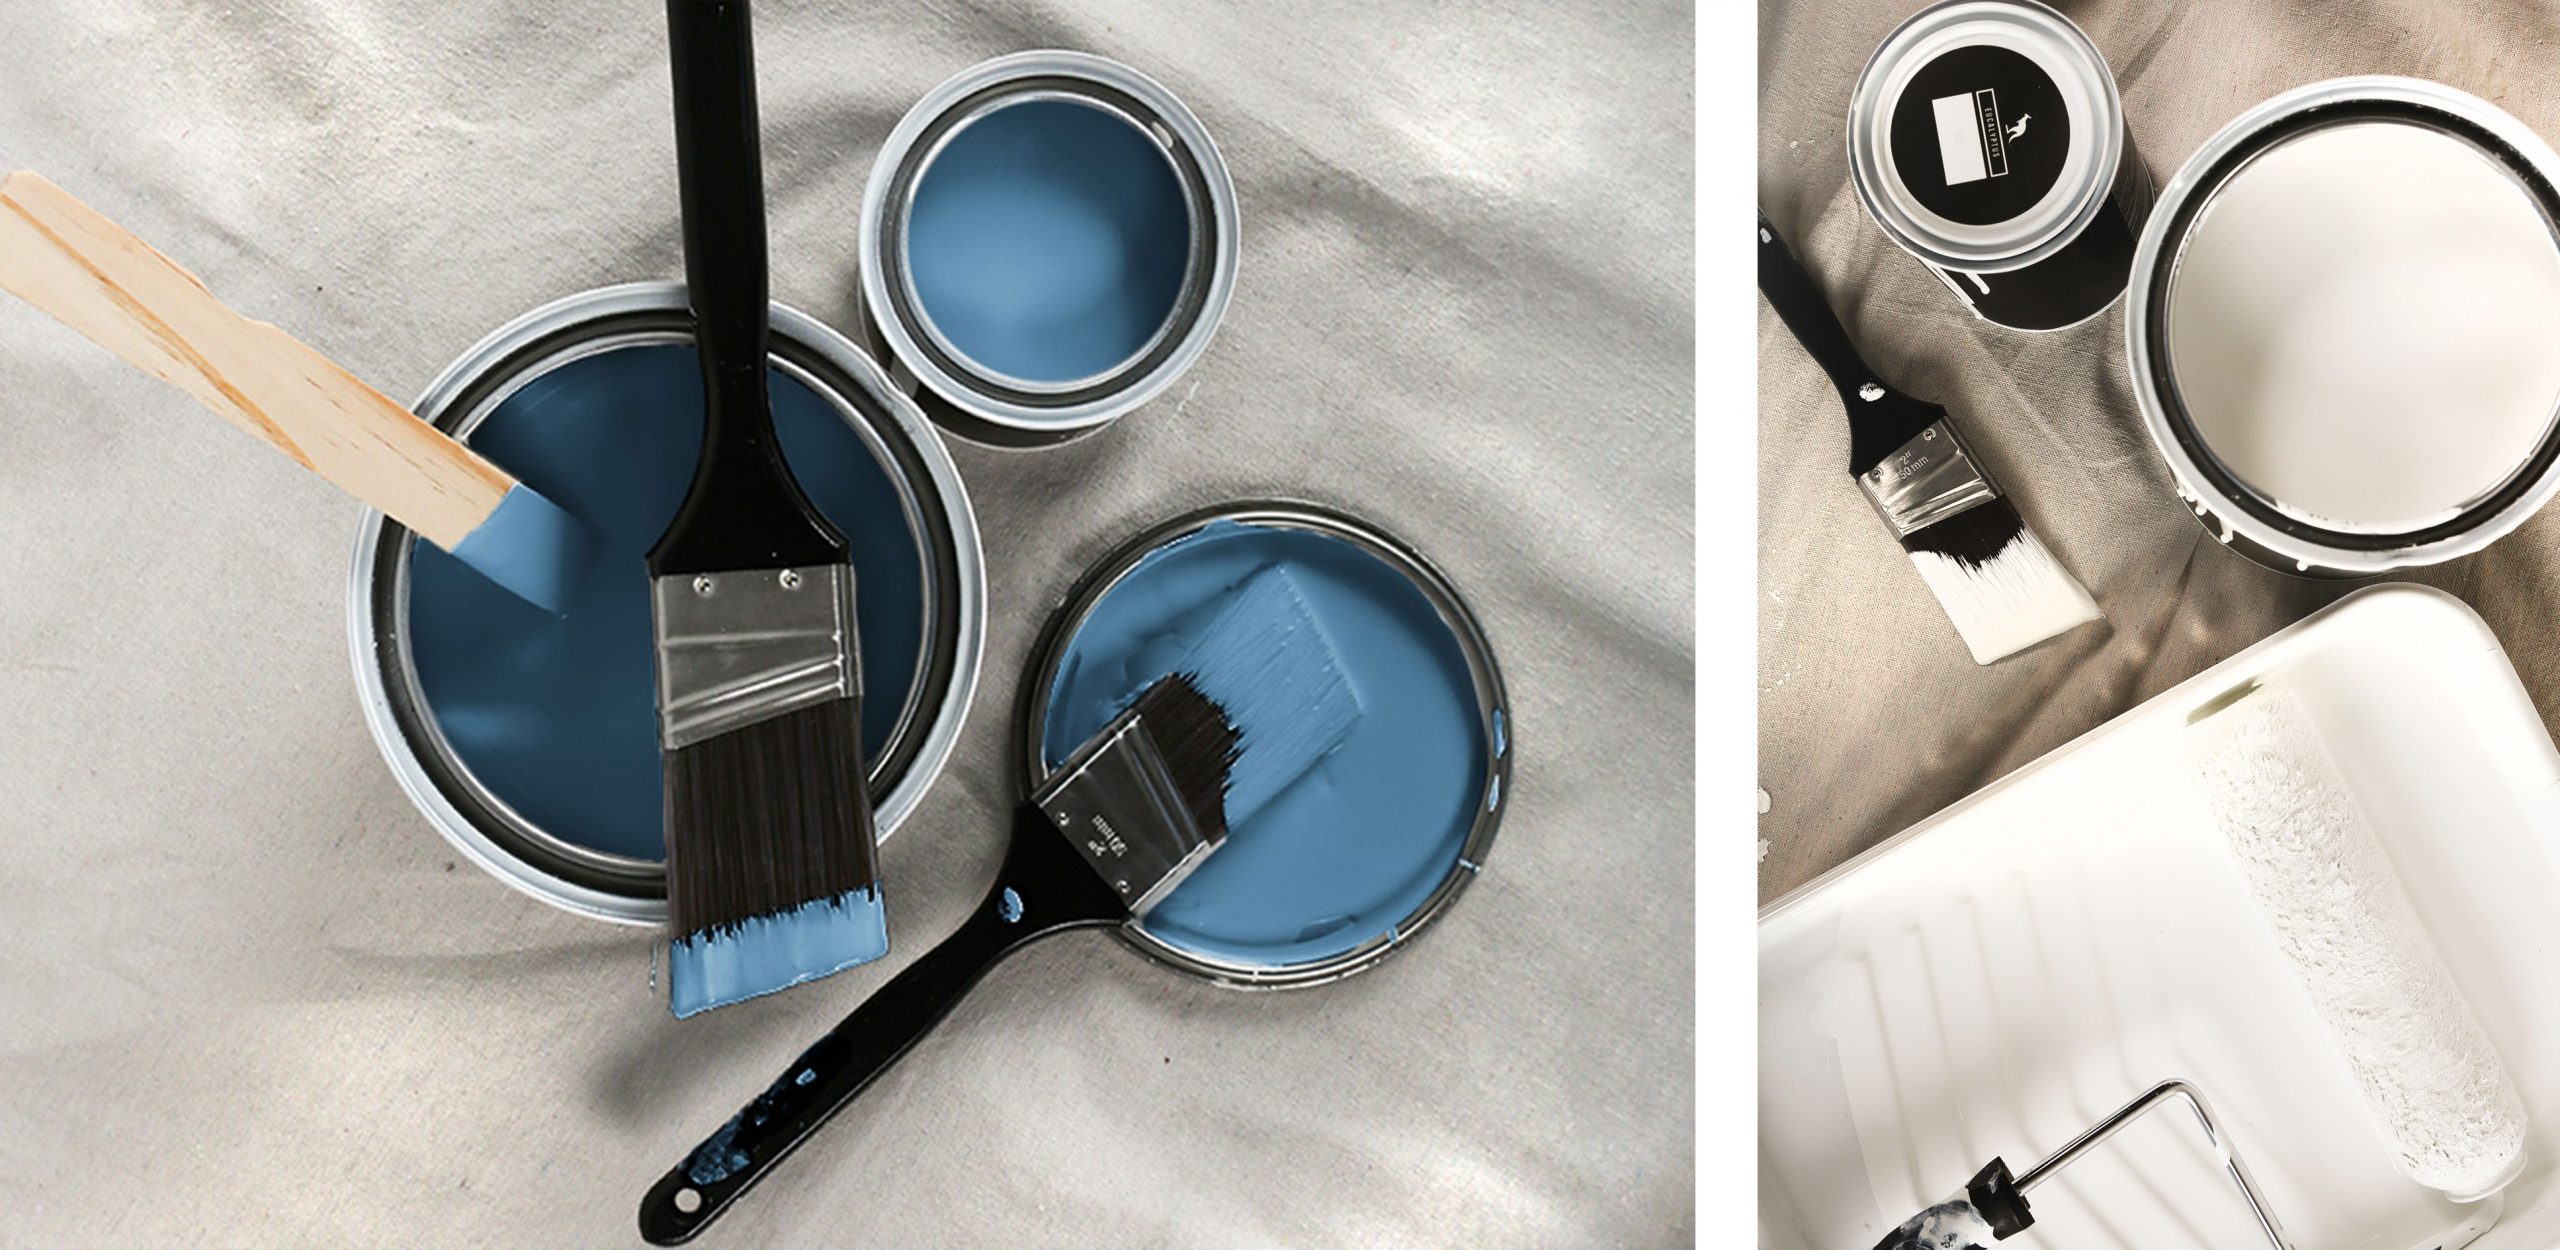
CUTTING IN
Before rolling, you need to outline the borders of your area with a 2” angled brush, a process called ‘cutting in’. To do this, dip ⅓ of your brush bristles into your paint and lightly tap the excess off. Start 5 cm away from the edge of where you’ll be painting and push the tip of the bristles toward the edge, then drag the bristles along the edge to make a clean line. For some, this will be oddly satisfying!
Then, gently turn the brush 90 degrees and back and forth in sweeping motions. You want to feather out the edge of your cut to help blend it well for the rolling step. If you want to take a break, leave your brush in warm water, or for a quicker solution, throw it in an airtight plastic bag to keep it from drying out.
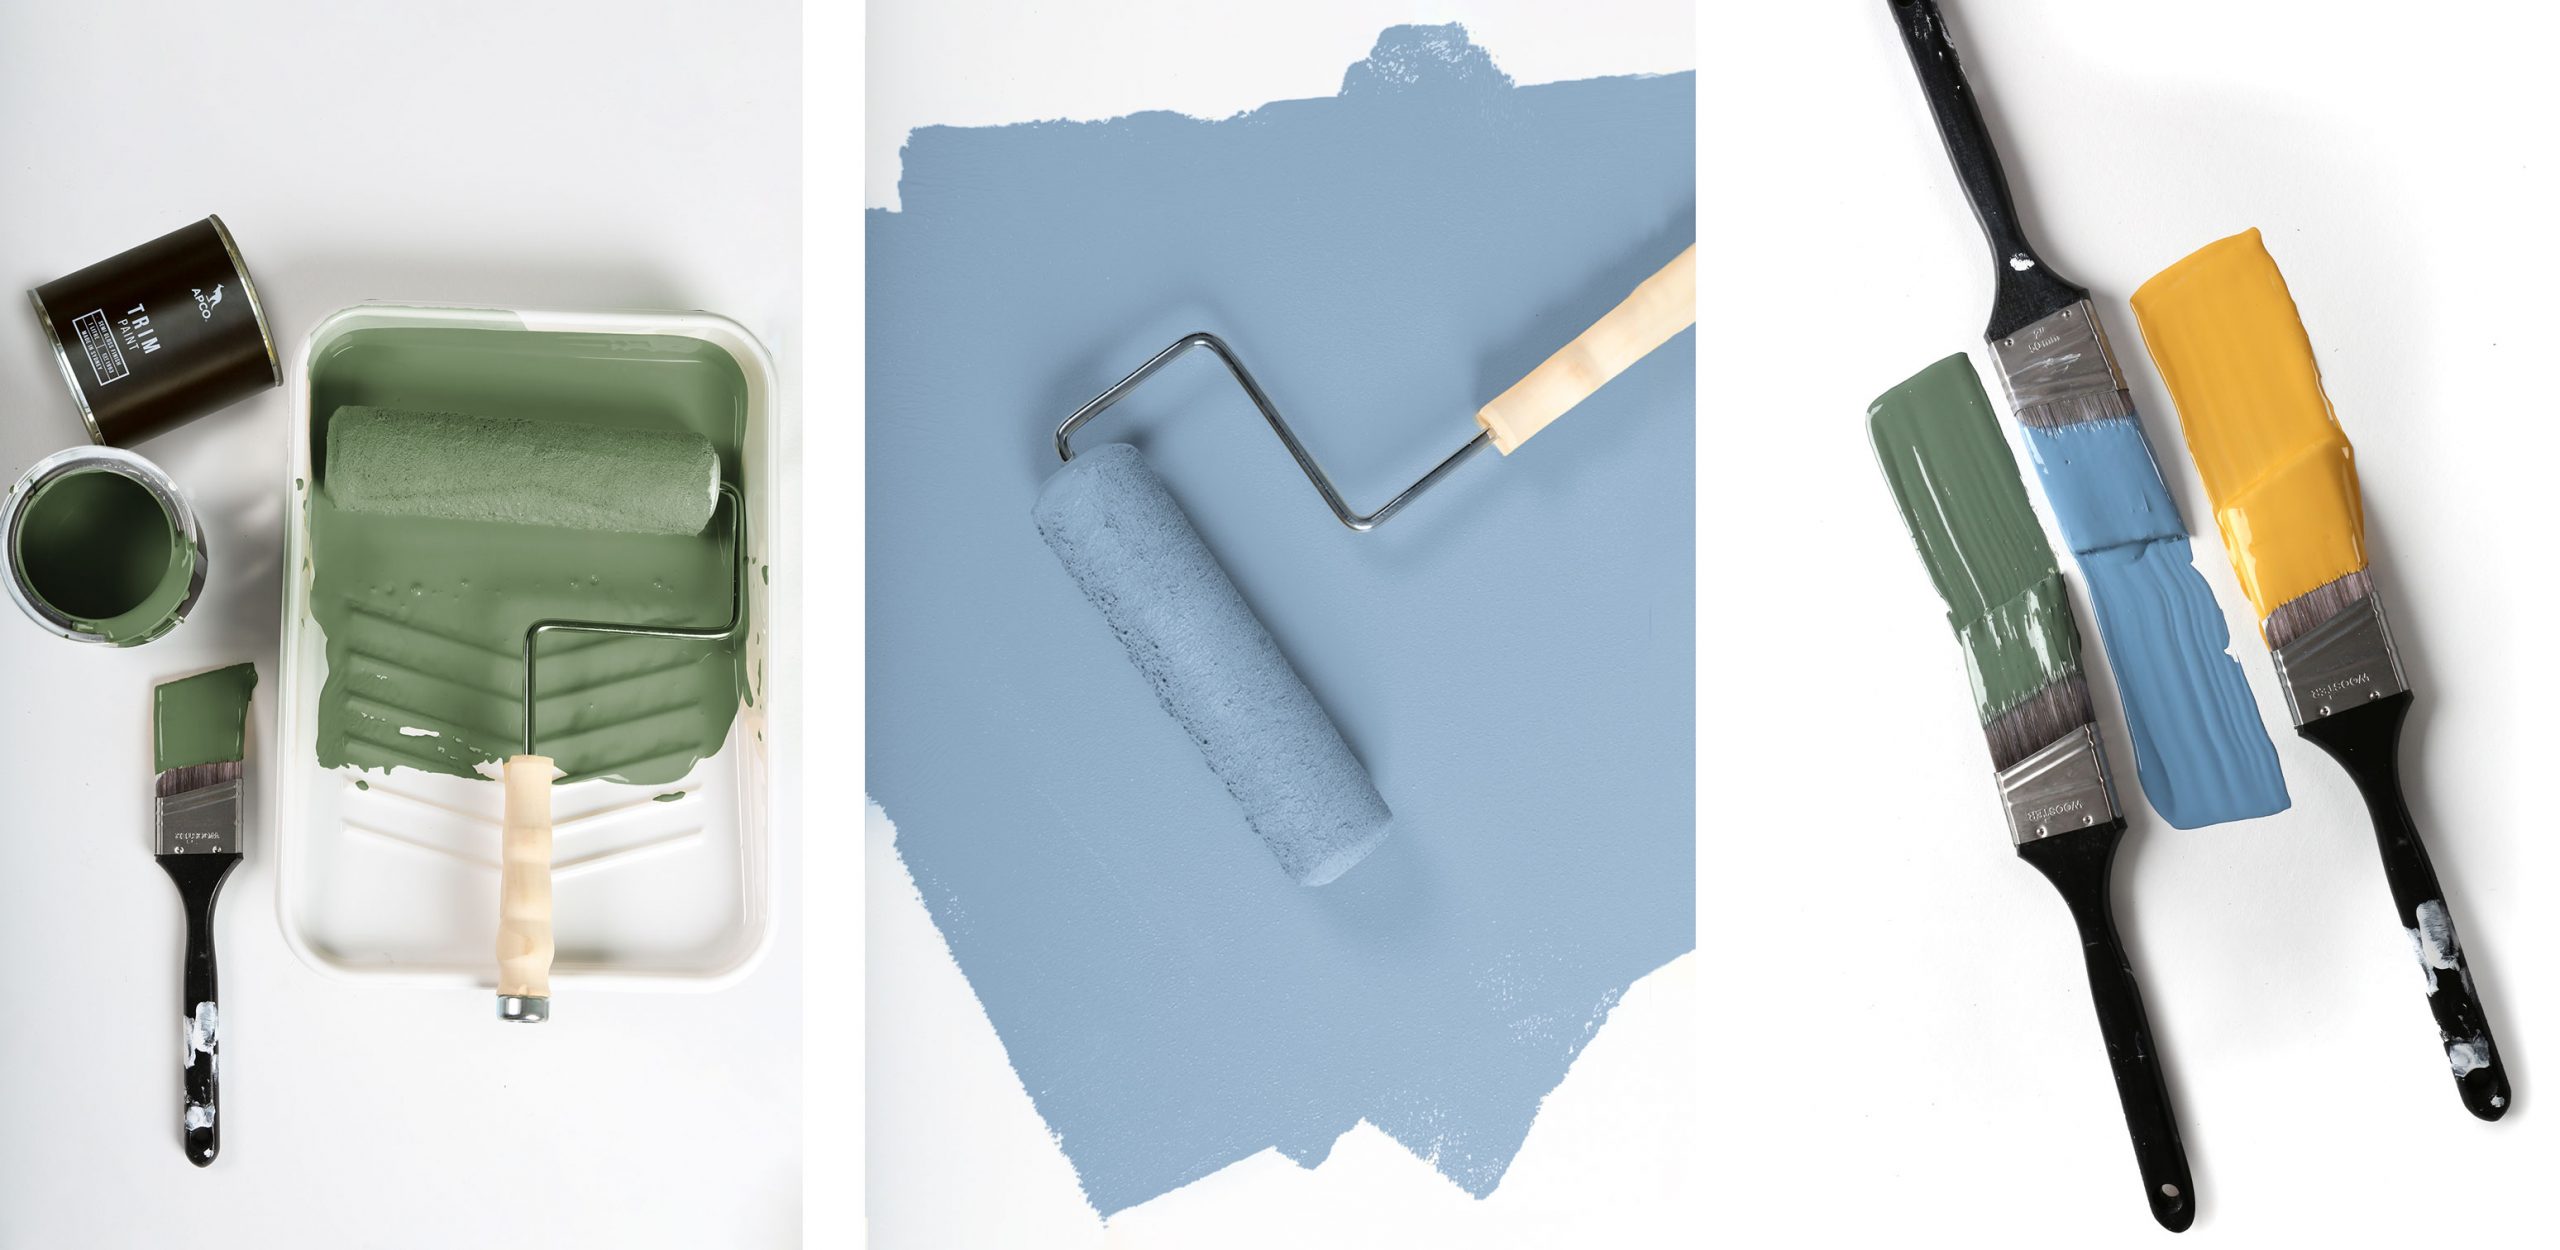
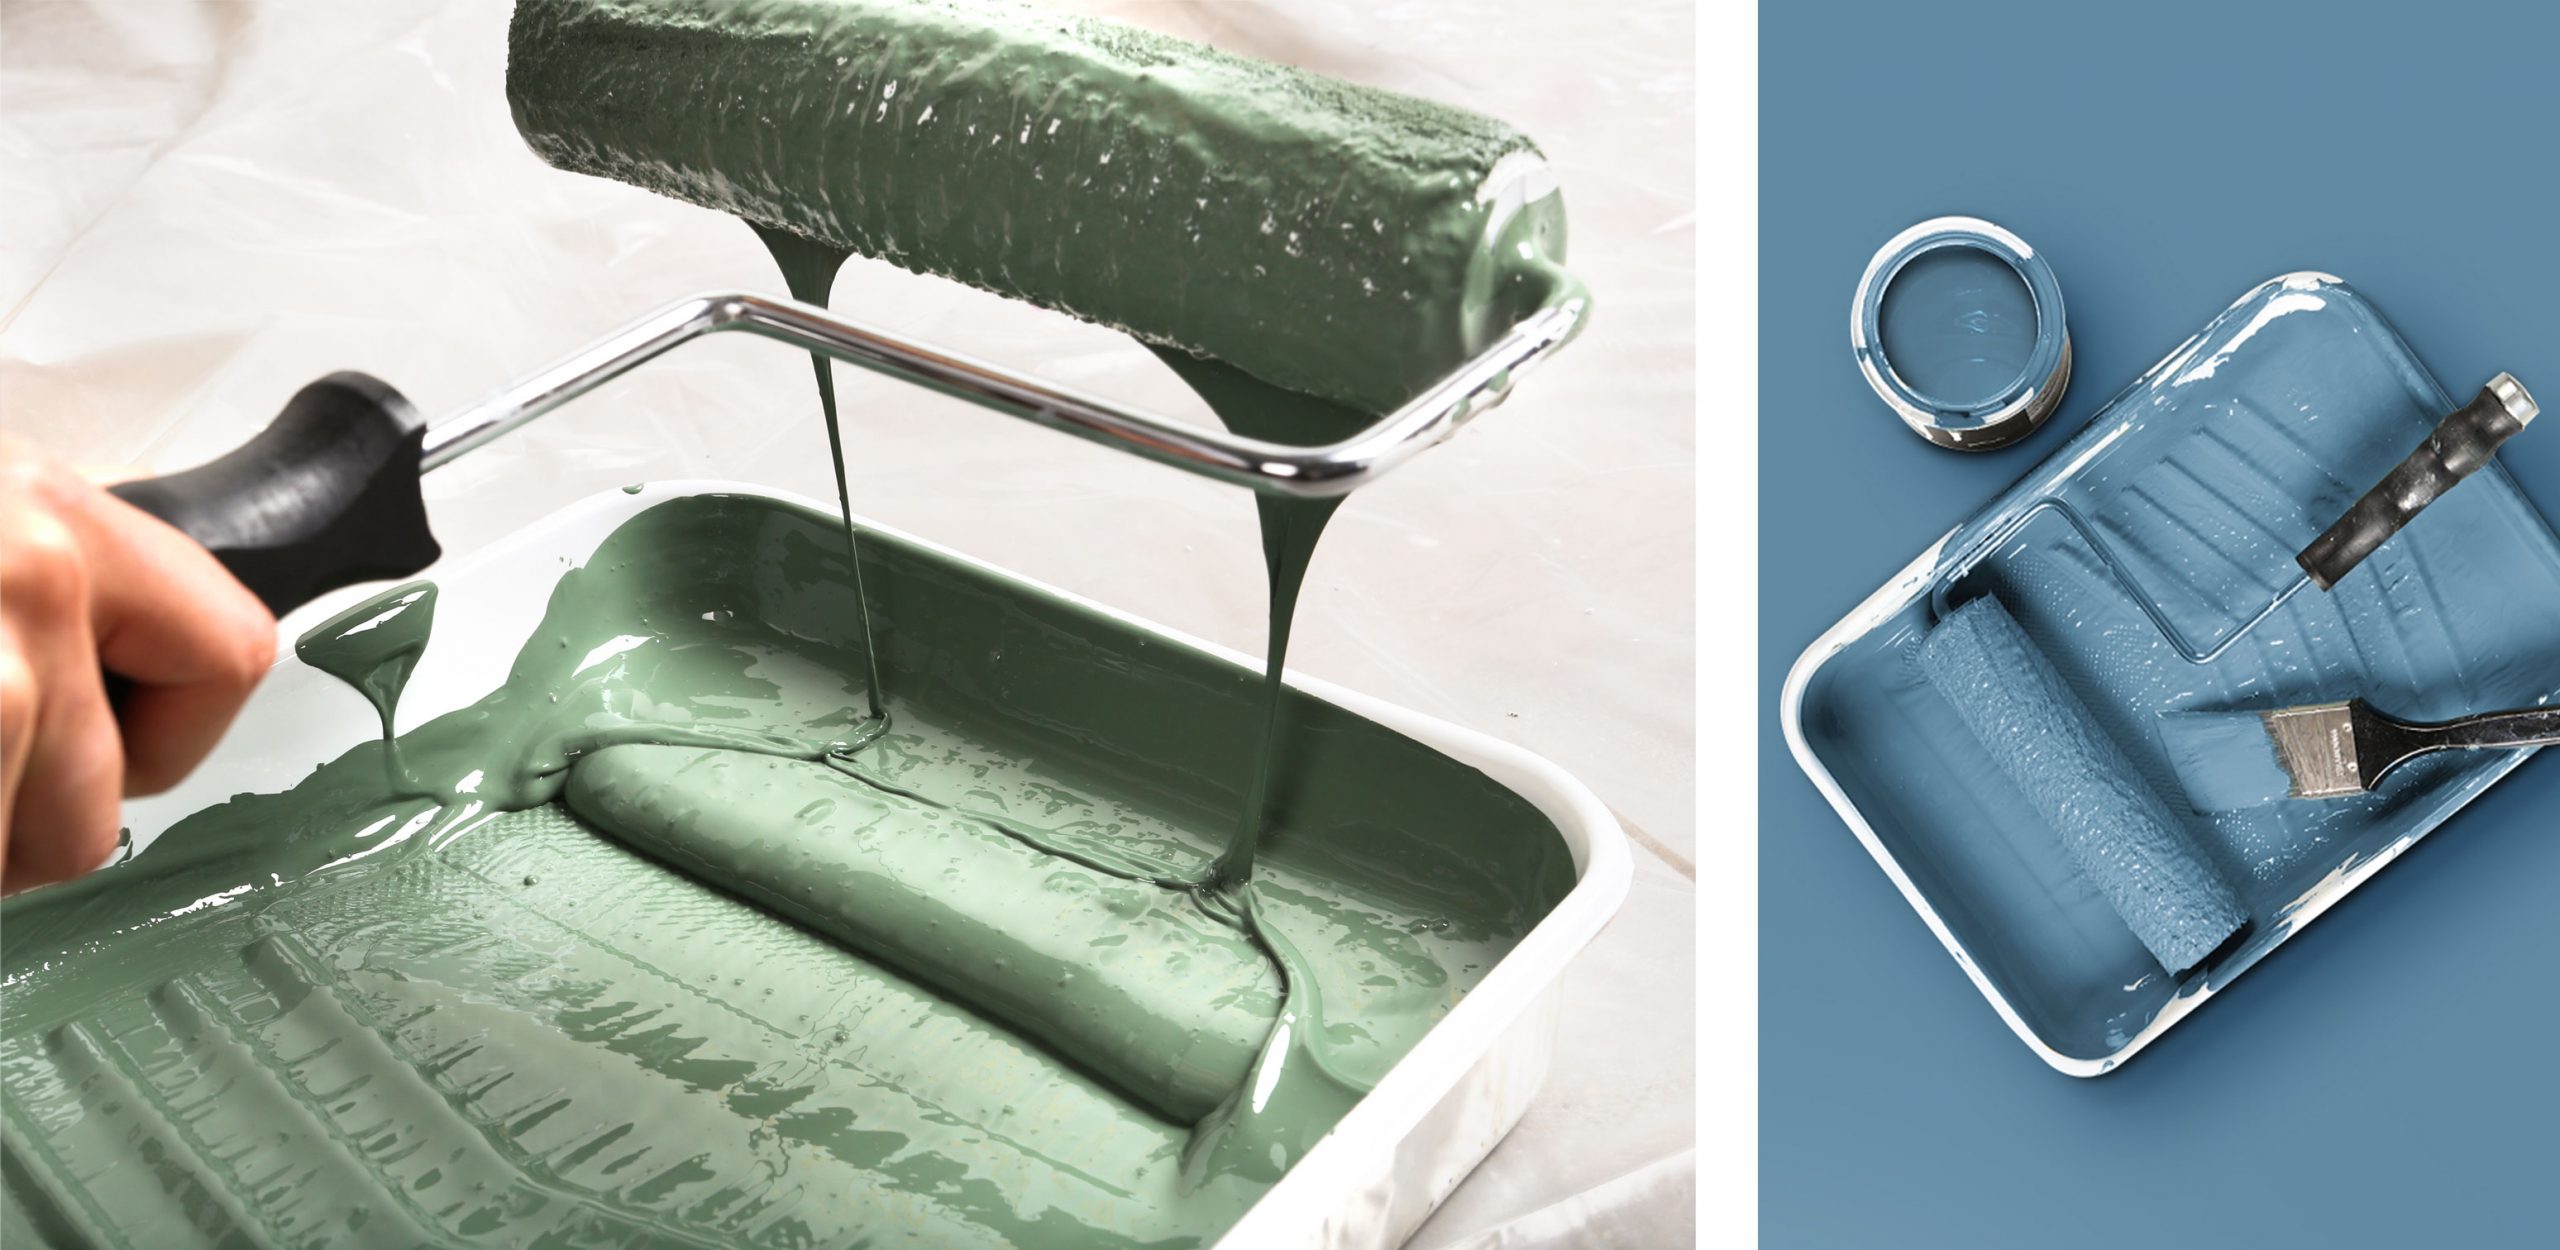
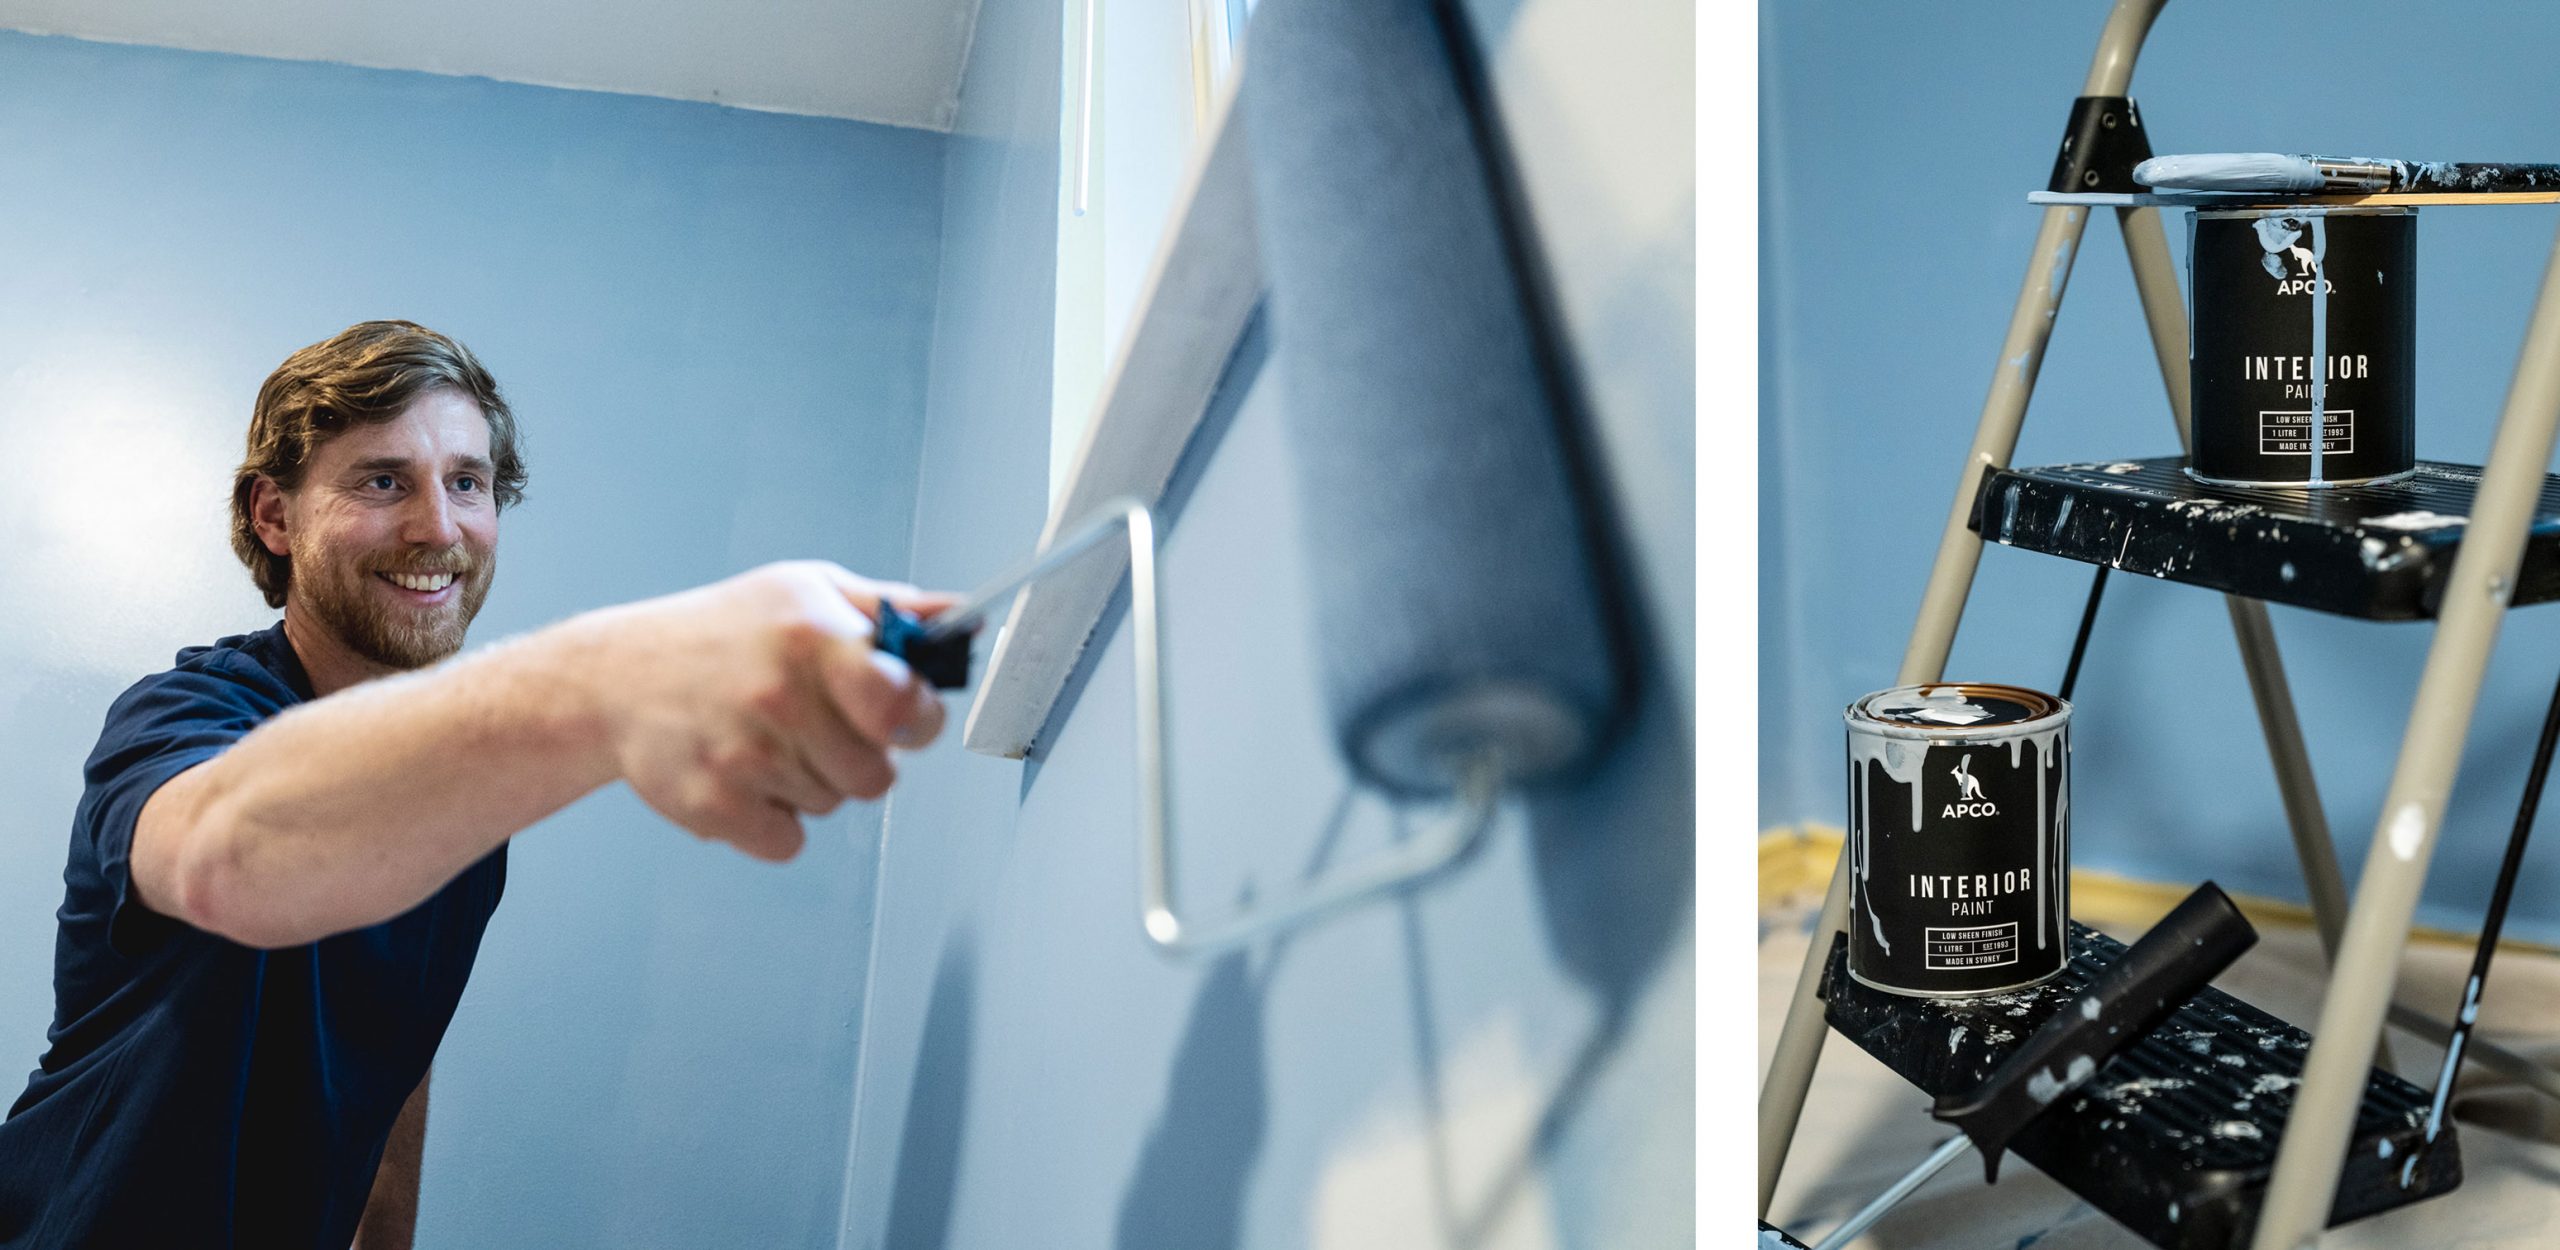
ROLLING
Here’s the part you’ve all been waiting for. Before you start, remove any loose fuzz on your roller by sticking some painter’s tape and ripping it off real fast, like you’re waxing someone’s arm. Now, slowly dip the roller into the tray and evenly roll back and forth on the ‘roll-off’ area of your tray, until the roller looks evenly covered but without too much excess. Start rolling from the top and make a ‘W’ pattern, and then fill in the gaps with vertical strokes. Be sure to keep a wet edge to give a clean and consistent paint finish.
After 2-3 hours (depending on humidity/temp), check if it is fully dry and hit the area with a second coat.
STEP 4 | FINISH
REMOVE THE TAPE
It’s important to remove the tape while the paint is still wet. Pull the tape gently at a 45 degree angle and have a damp rag ready incase any seeps, you want to be ready to wipe off any drips! Avoid pulling tape off when the paint is fully dry as it may result in peeling and tape permanently stuck on your wall. When you’ve got green painter’s tape soldered onto a white paint job, it doesn’t look good.
CLEAN UP
Clean your brushes and roller covers using warm water, and pour any excess paint back into the can. Tightly close your paint can and store it in a cool, dry place.Time to congratulate yourself! If you’ve painted it right, then you’ll need to give yourself a good clean up too. Grab a glass of wine, or a nice cold one, and jump in the bath to scrub off all that paint!
SHARE YOUR PAINTING SKILLS
We can’t wait to see the final result. We love seeing you document your painting journey – and we’ll bet your friends and family will too. It’s oh-so-satisfying to see before and after sequences, so share your painting journey on social media and tag us @apcopaint.